How to Start Your First Winter Village
The first, and most important, decision to make when starting your first Lego Winter Village display is the size. Of course the right answer is always to go bigger! But most of us have space and budget limitations. My first winter village was 20” deep by 60” wide (12 baseplates), because that was the size of my console table.
You can see in the overview image that this size came with one major drawback, I wasn’t able to include a full loop for my train. To make a full turn with Lego curved tracks, you need a minimum of three baseplates. For me this was a real bummer as I would have loved to see that trolley running around!
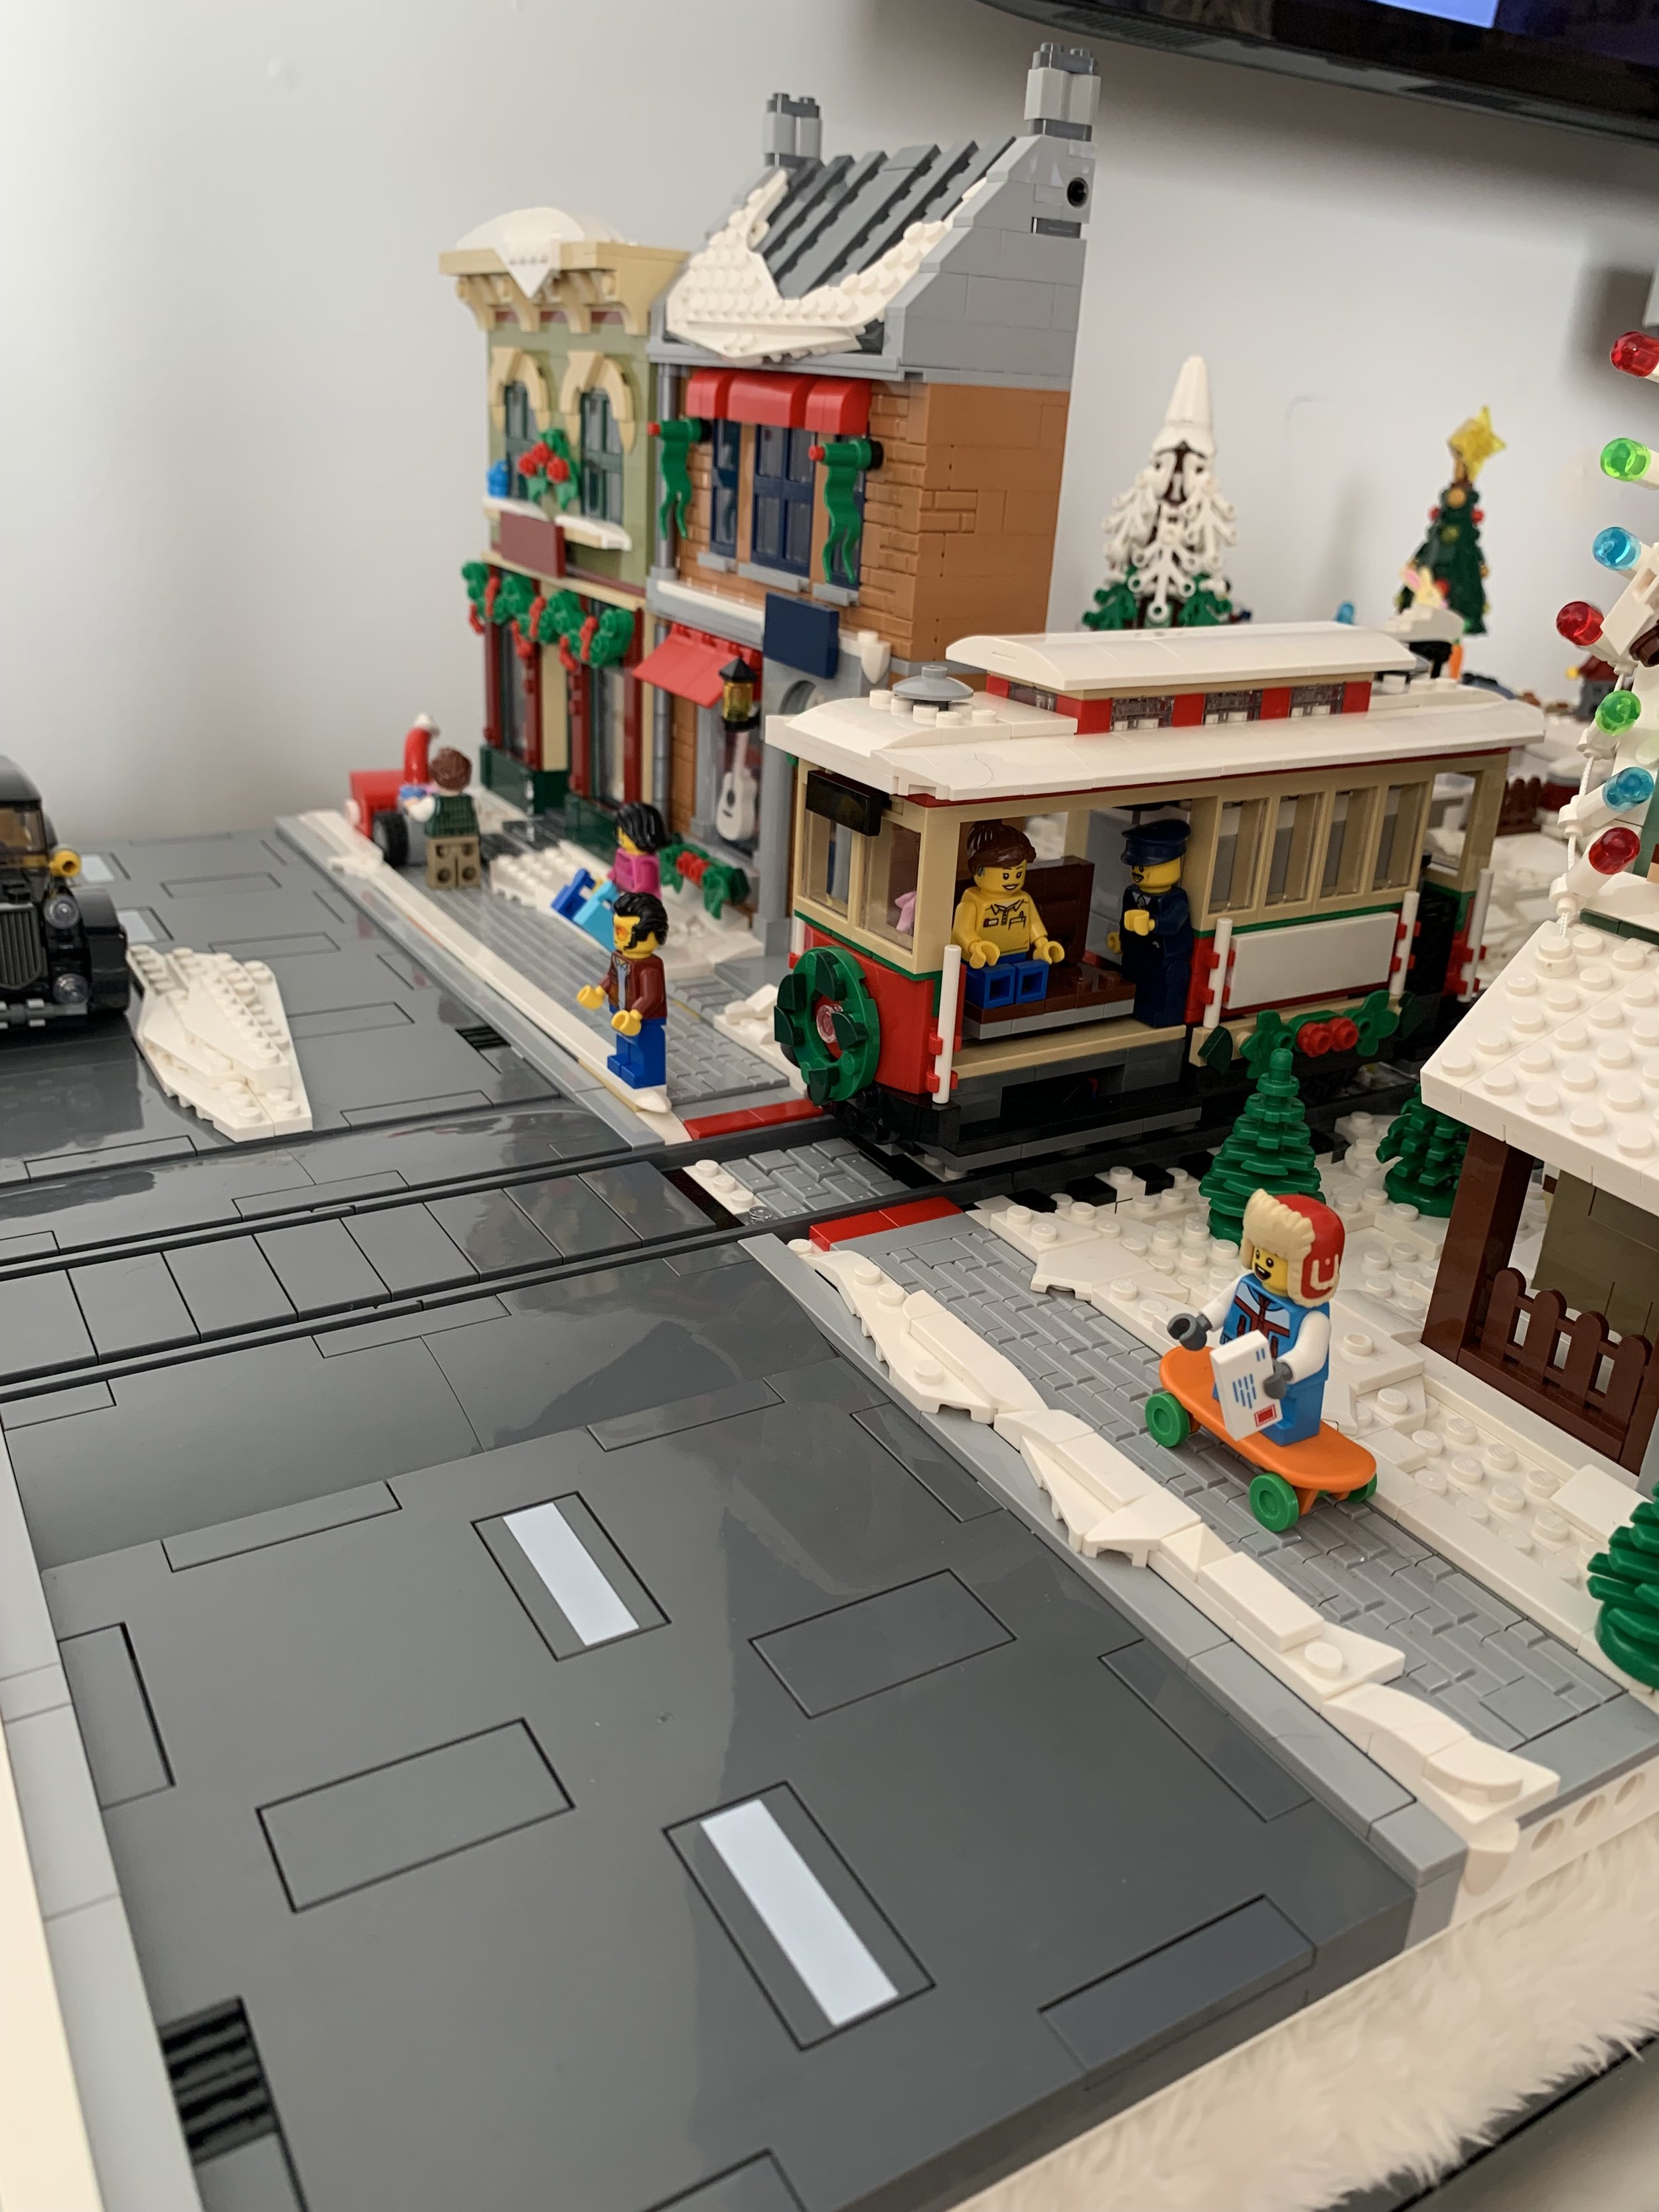
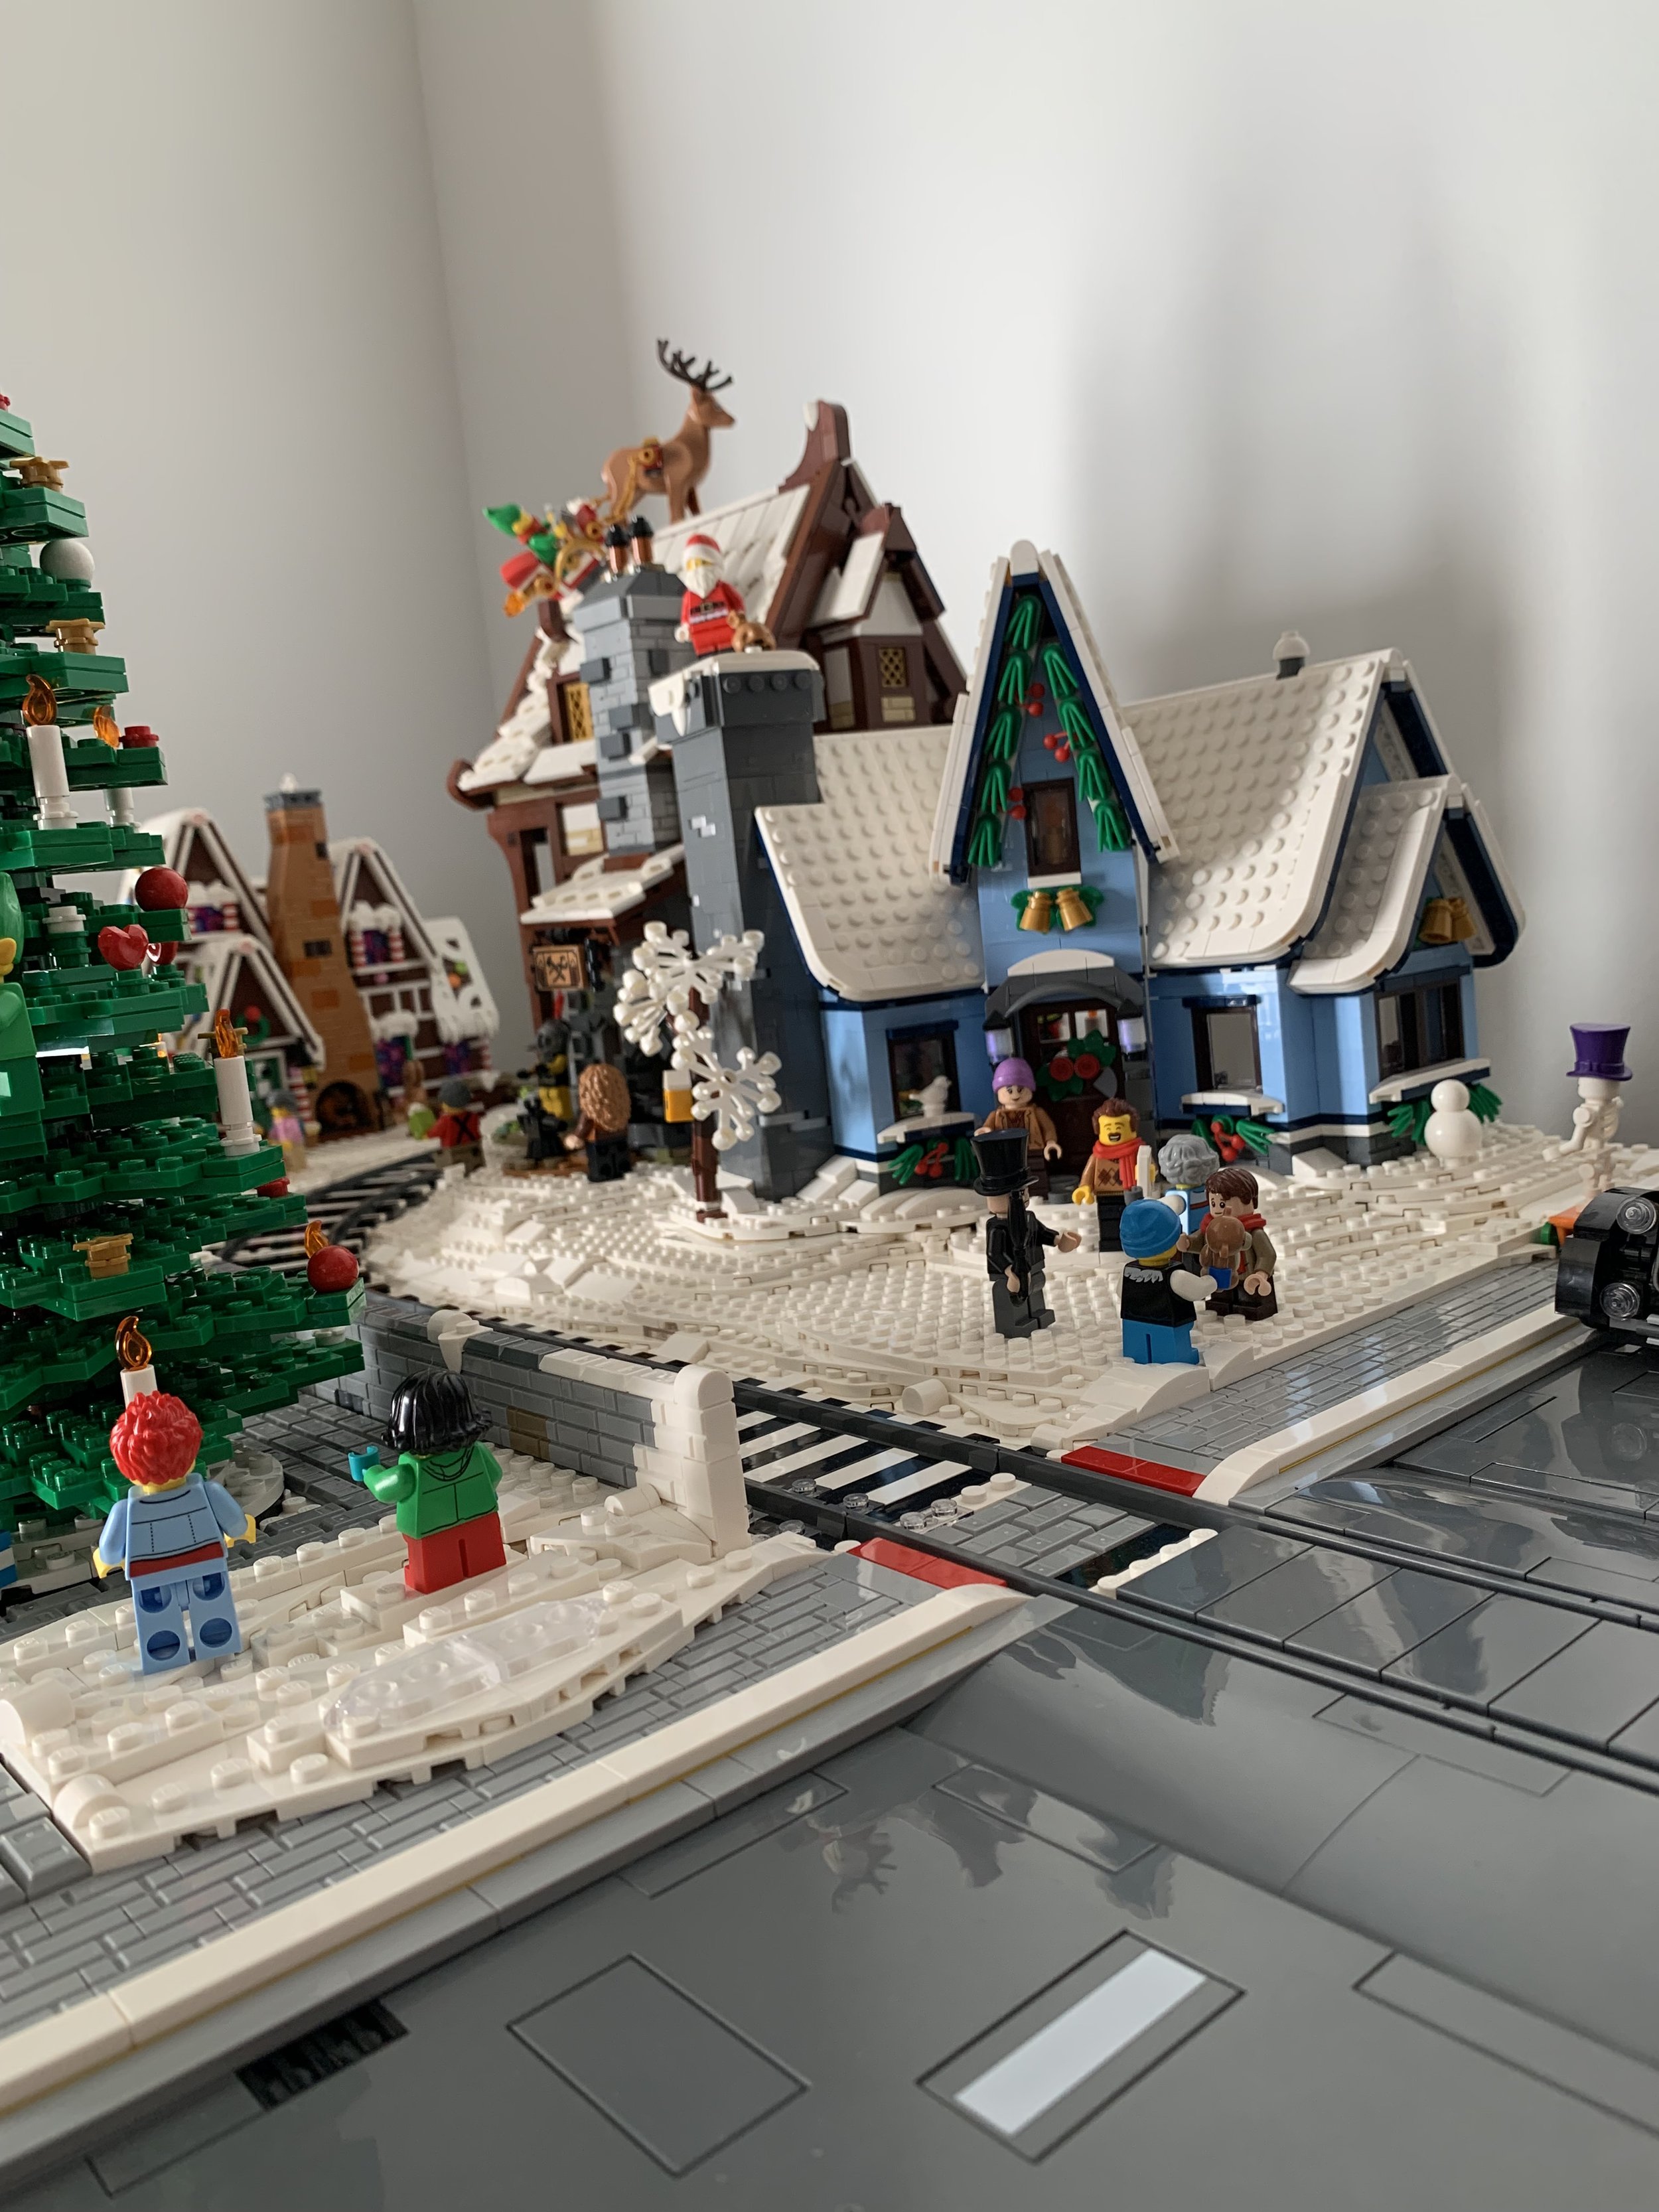
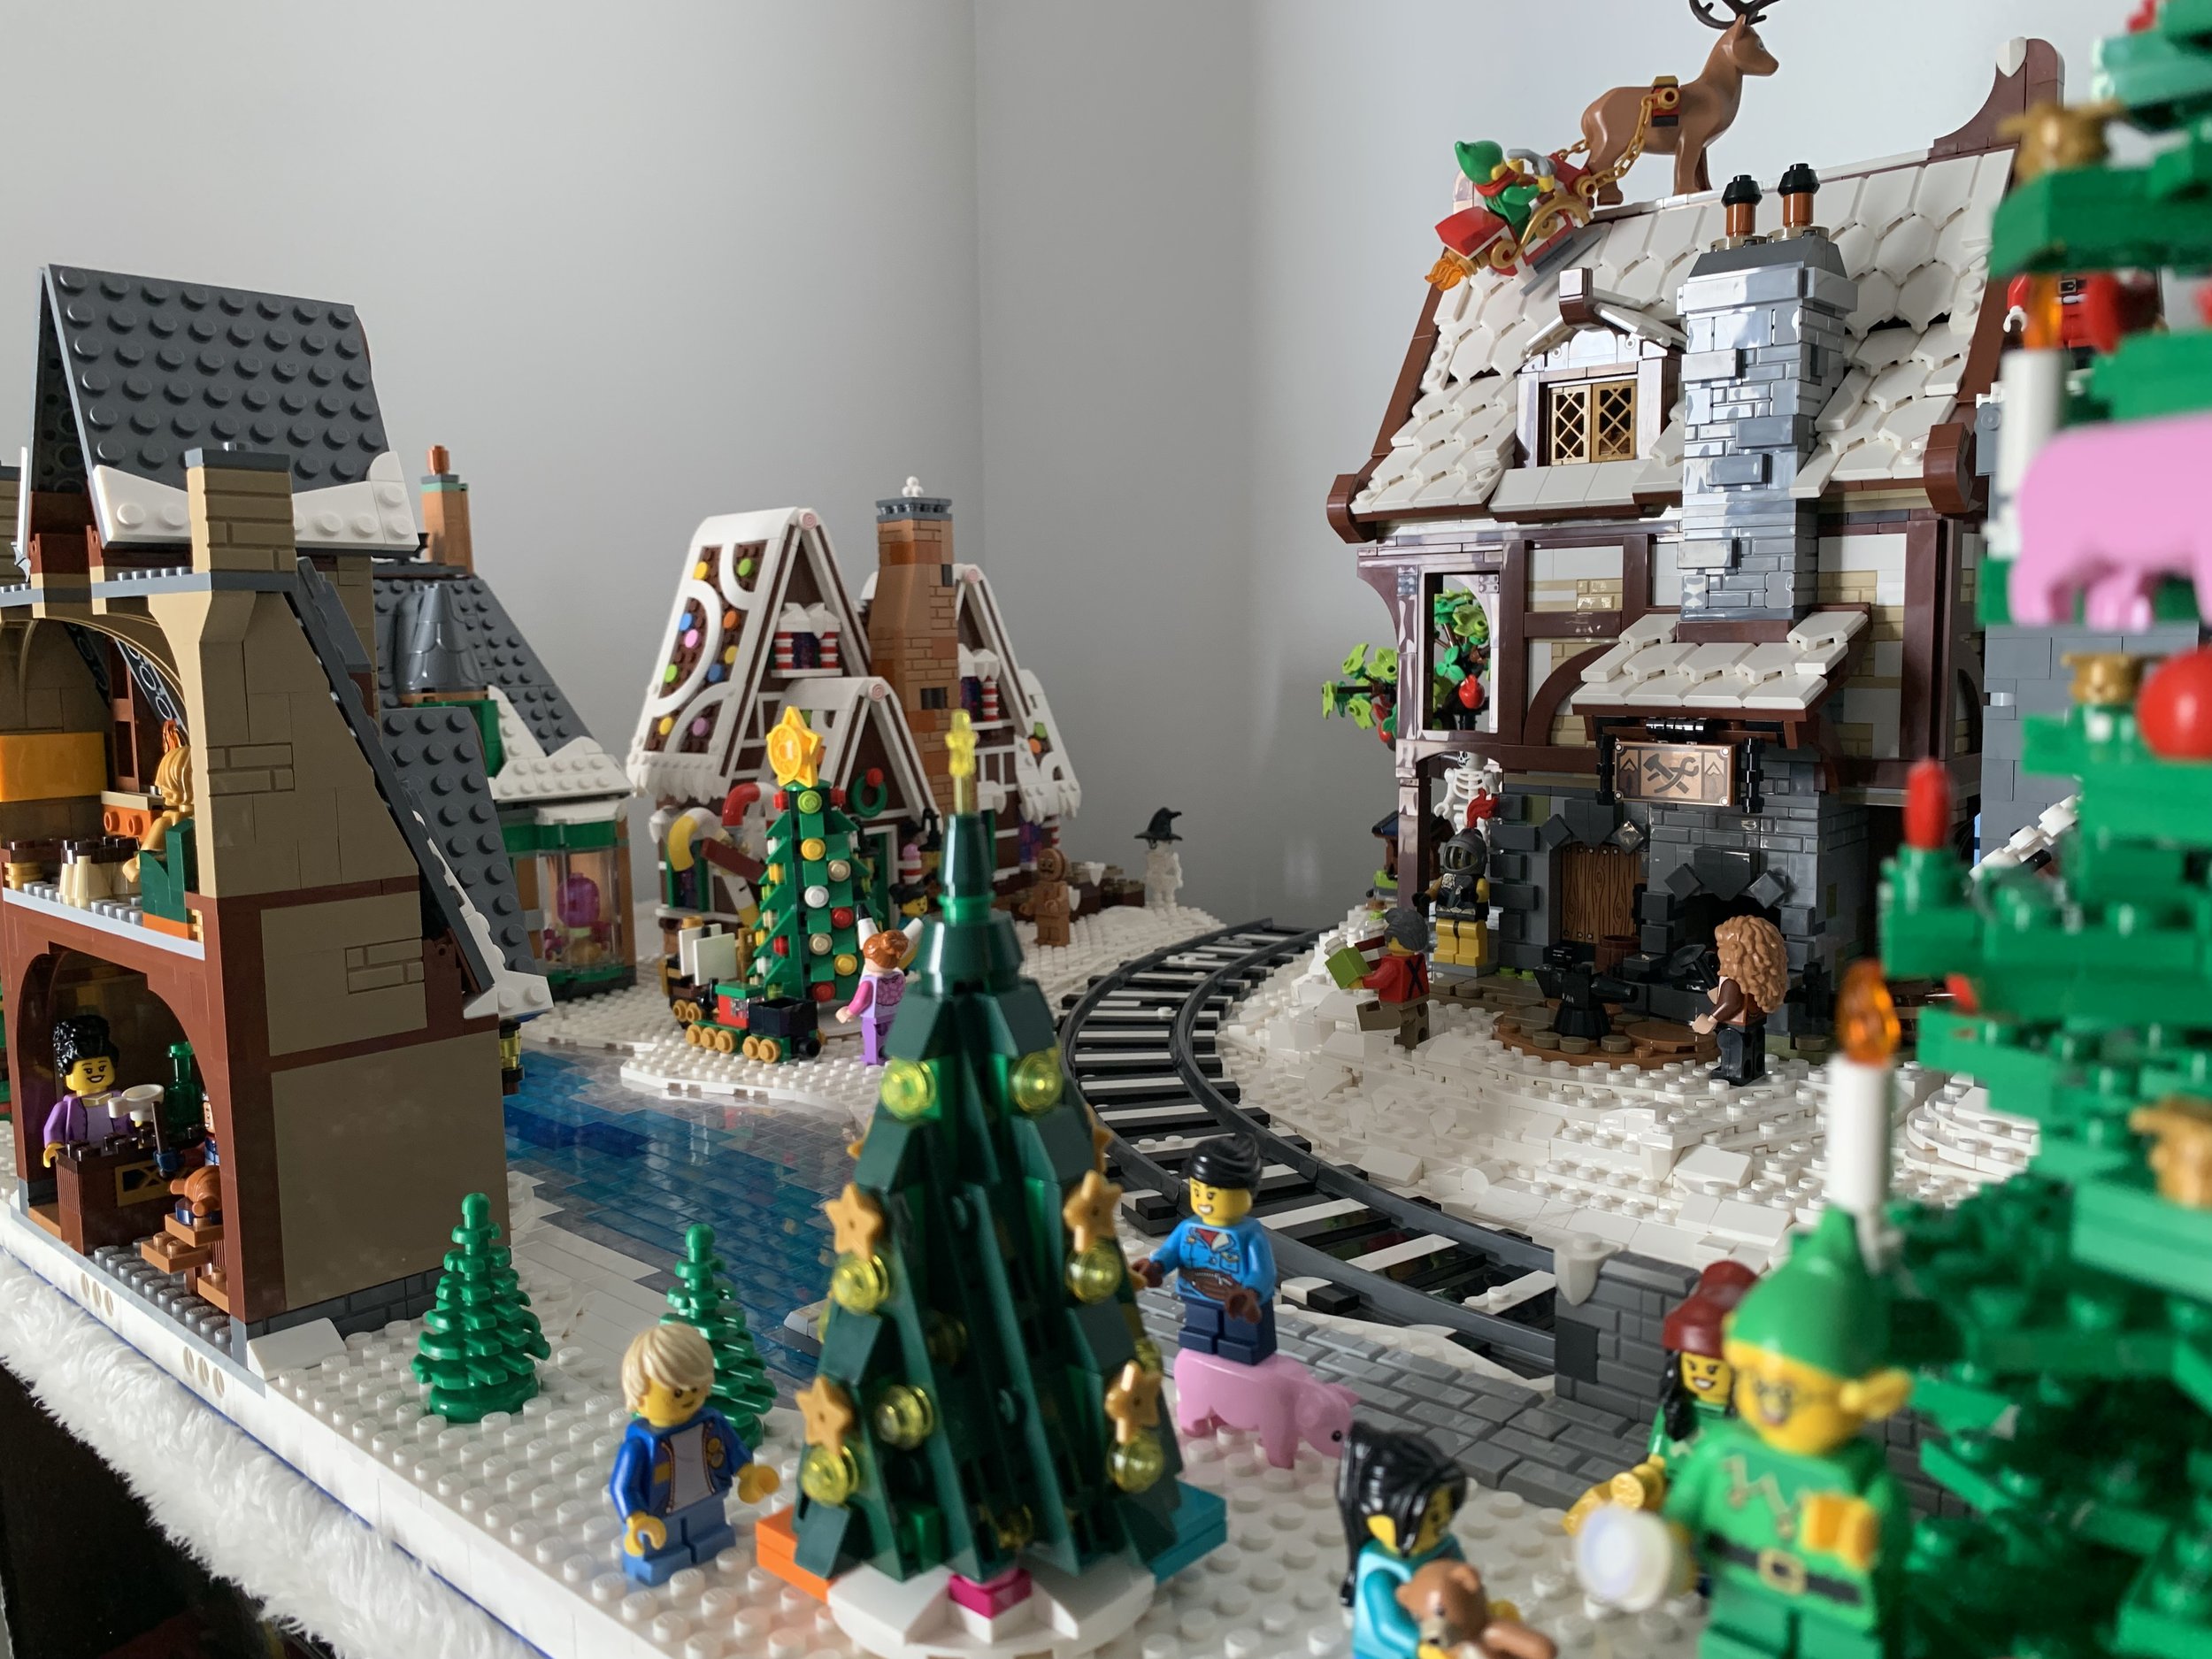
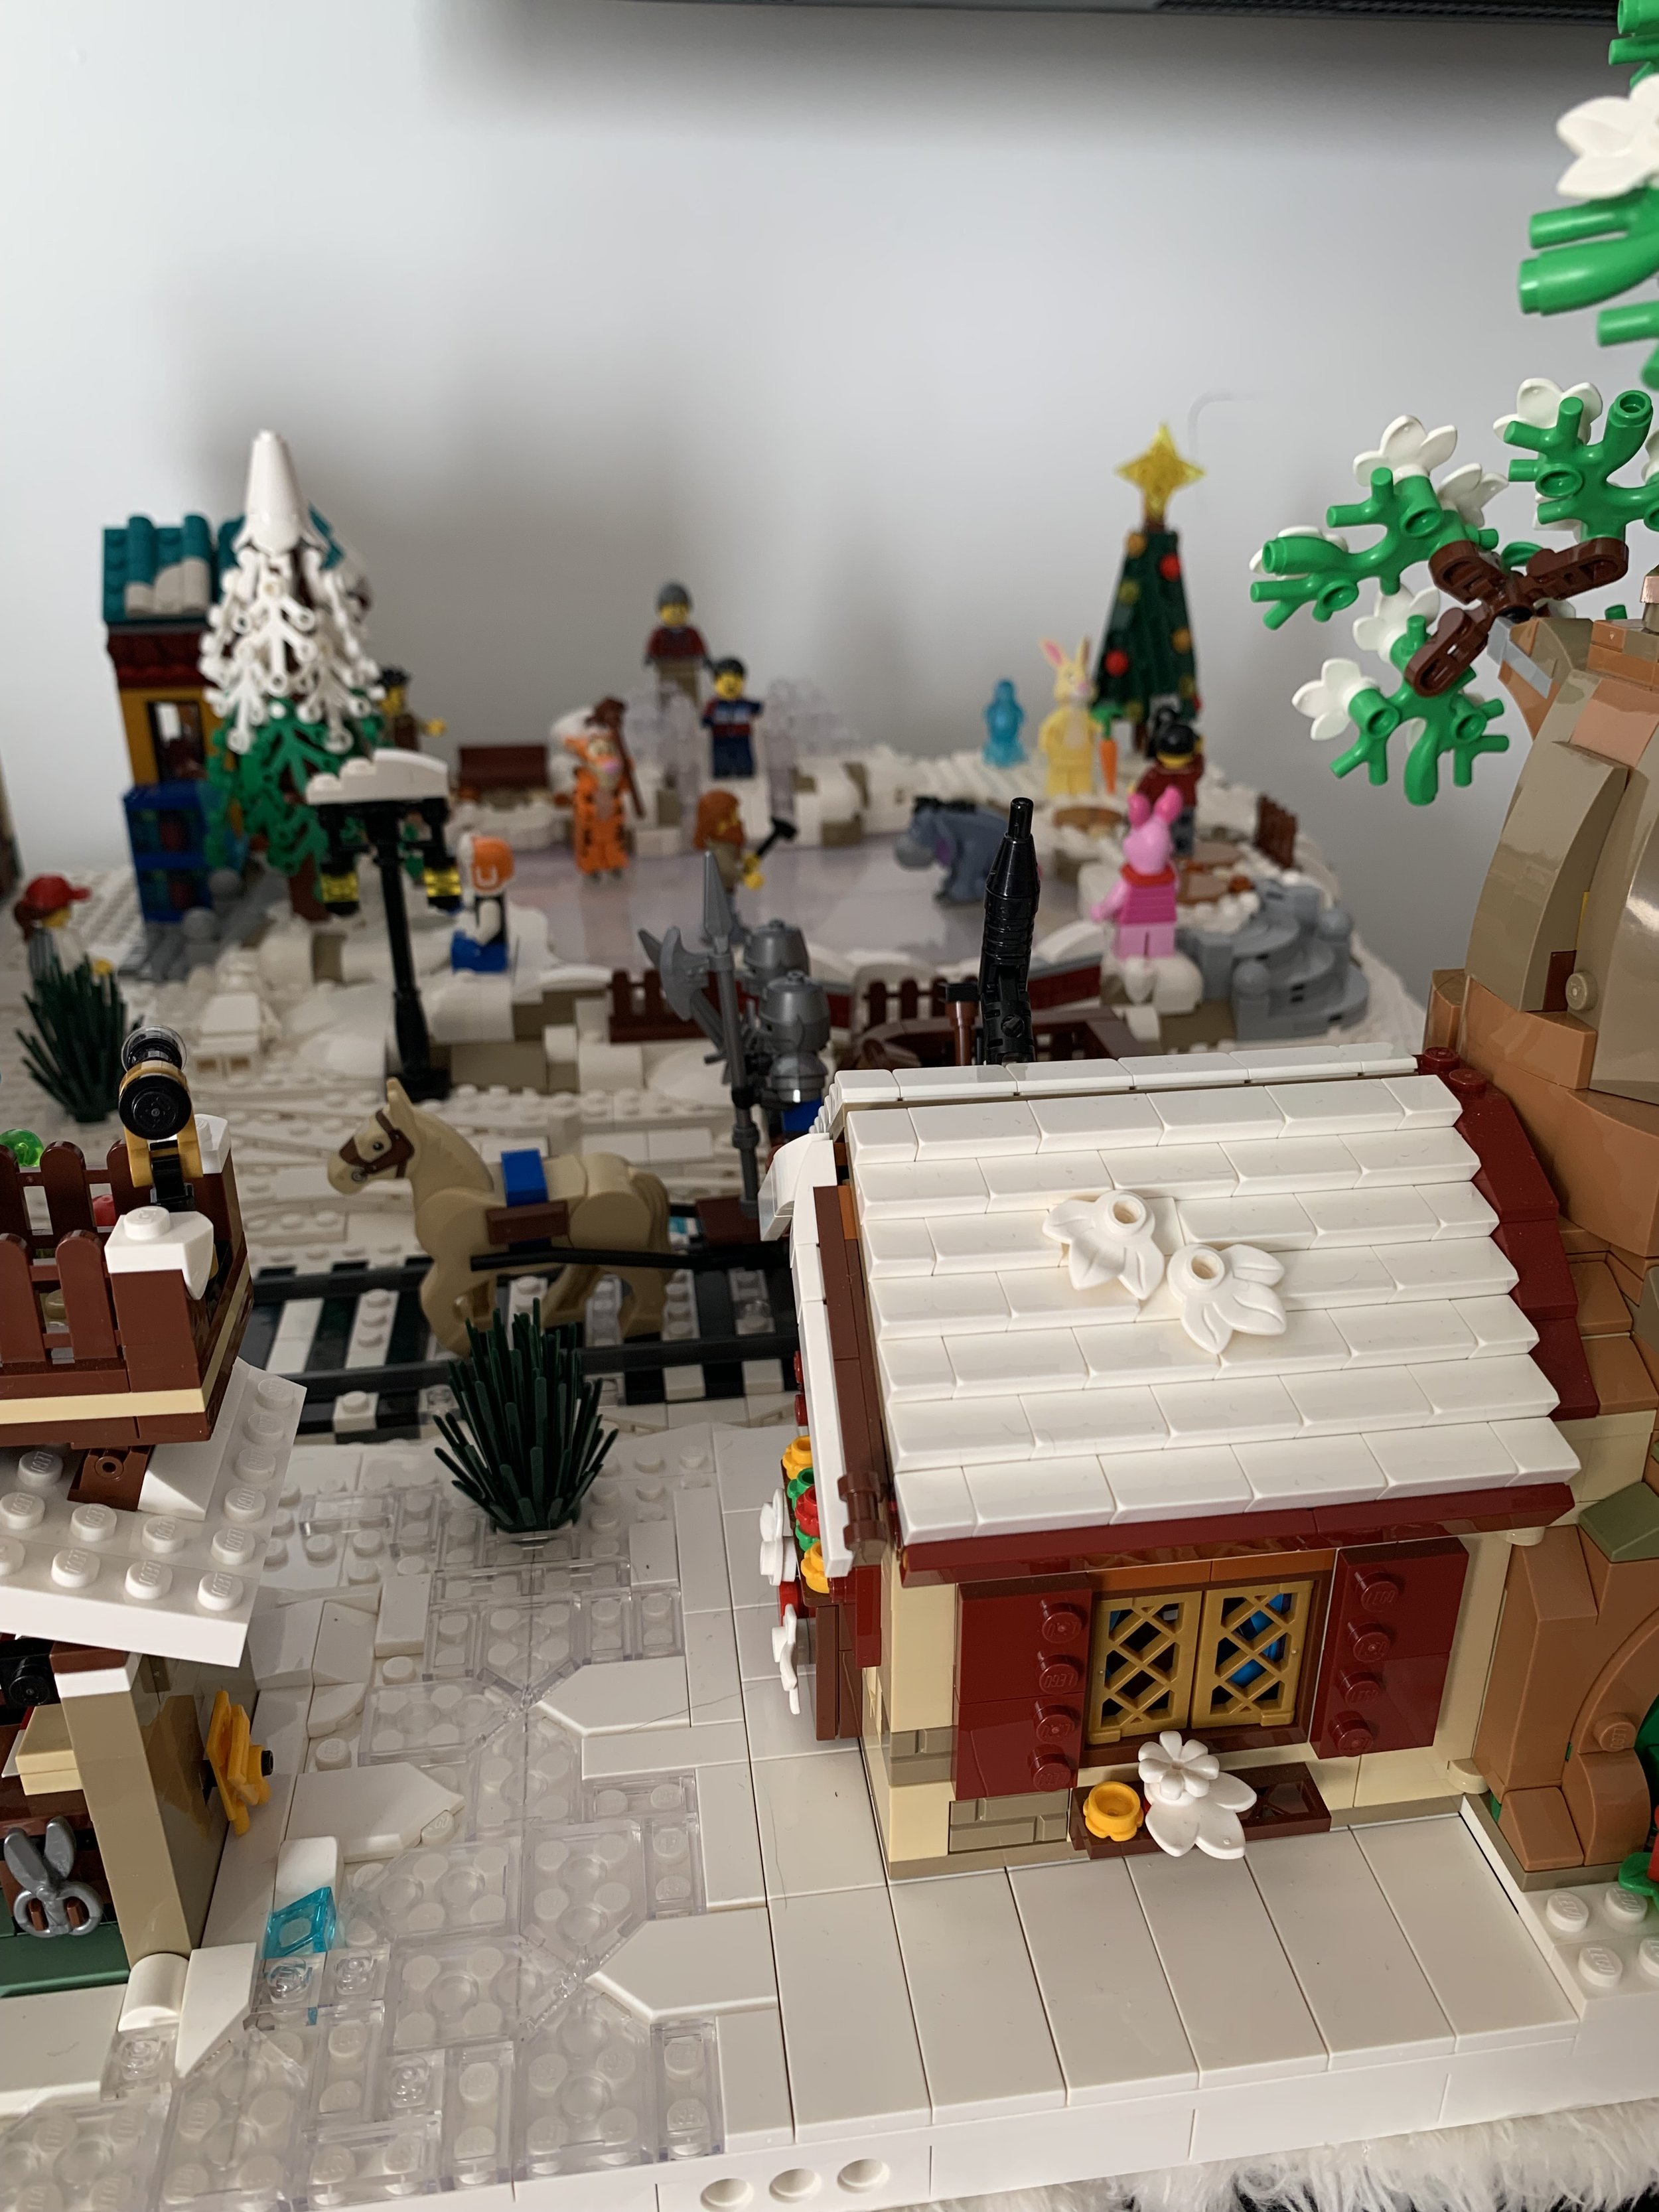
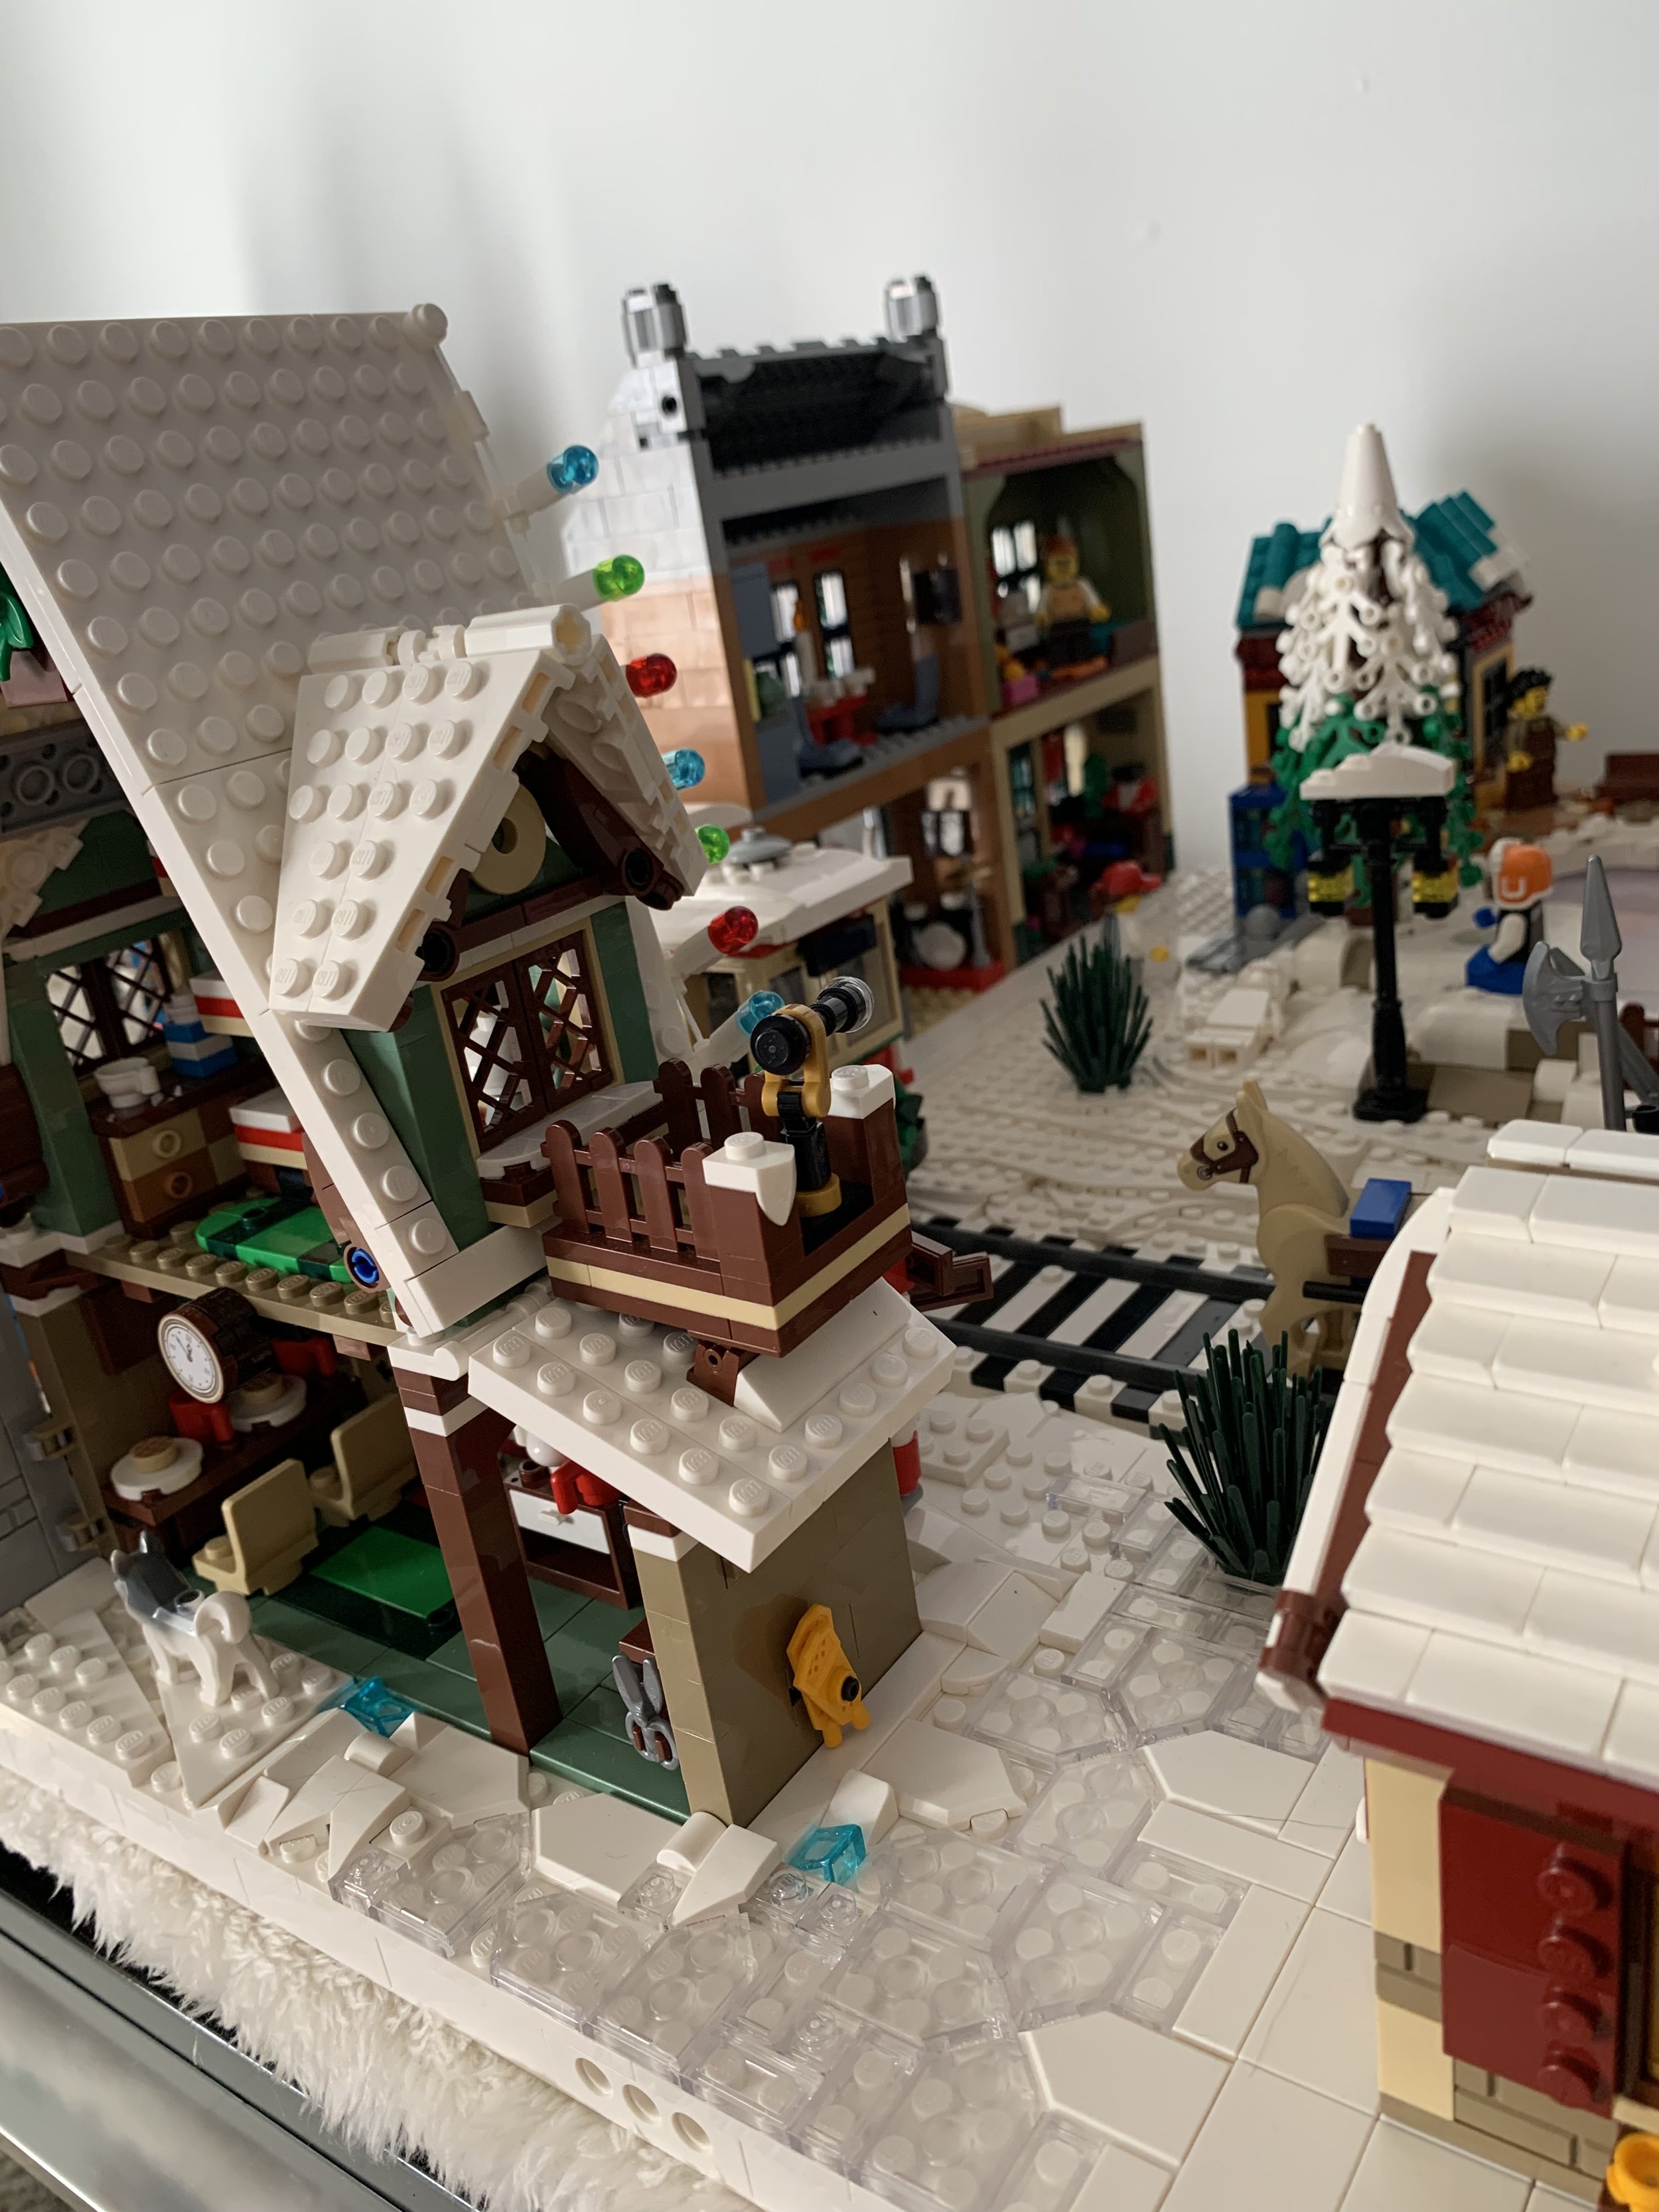
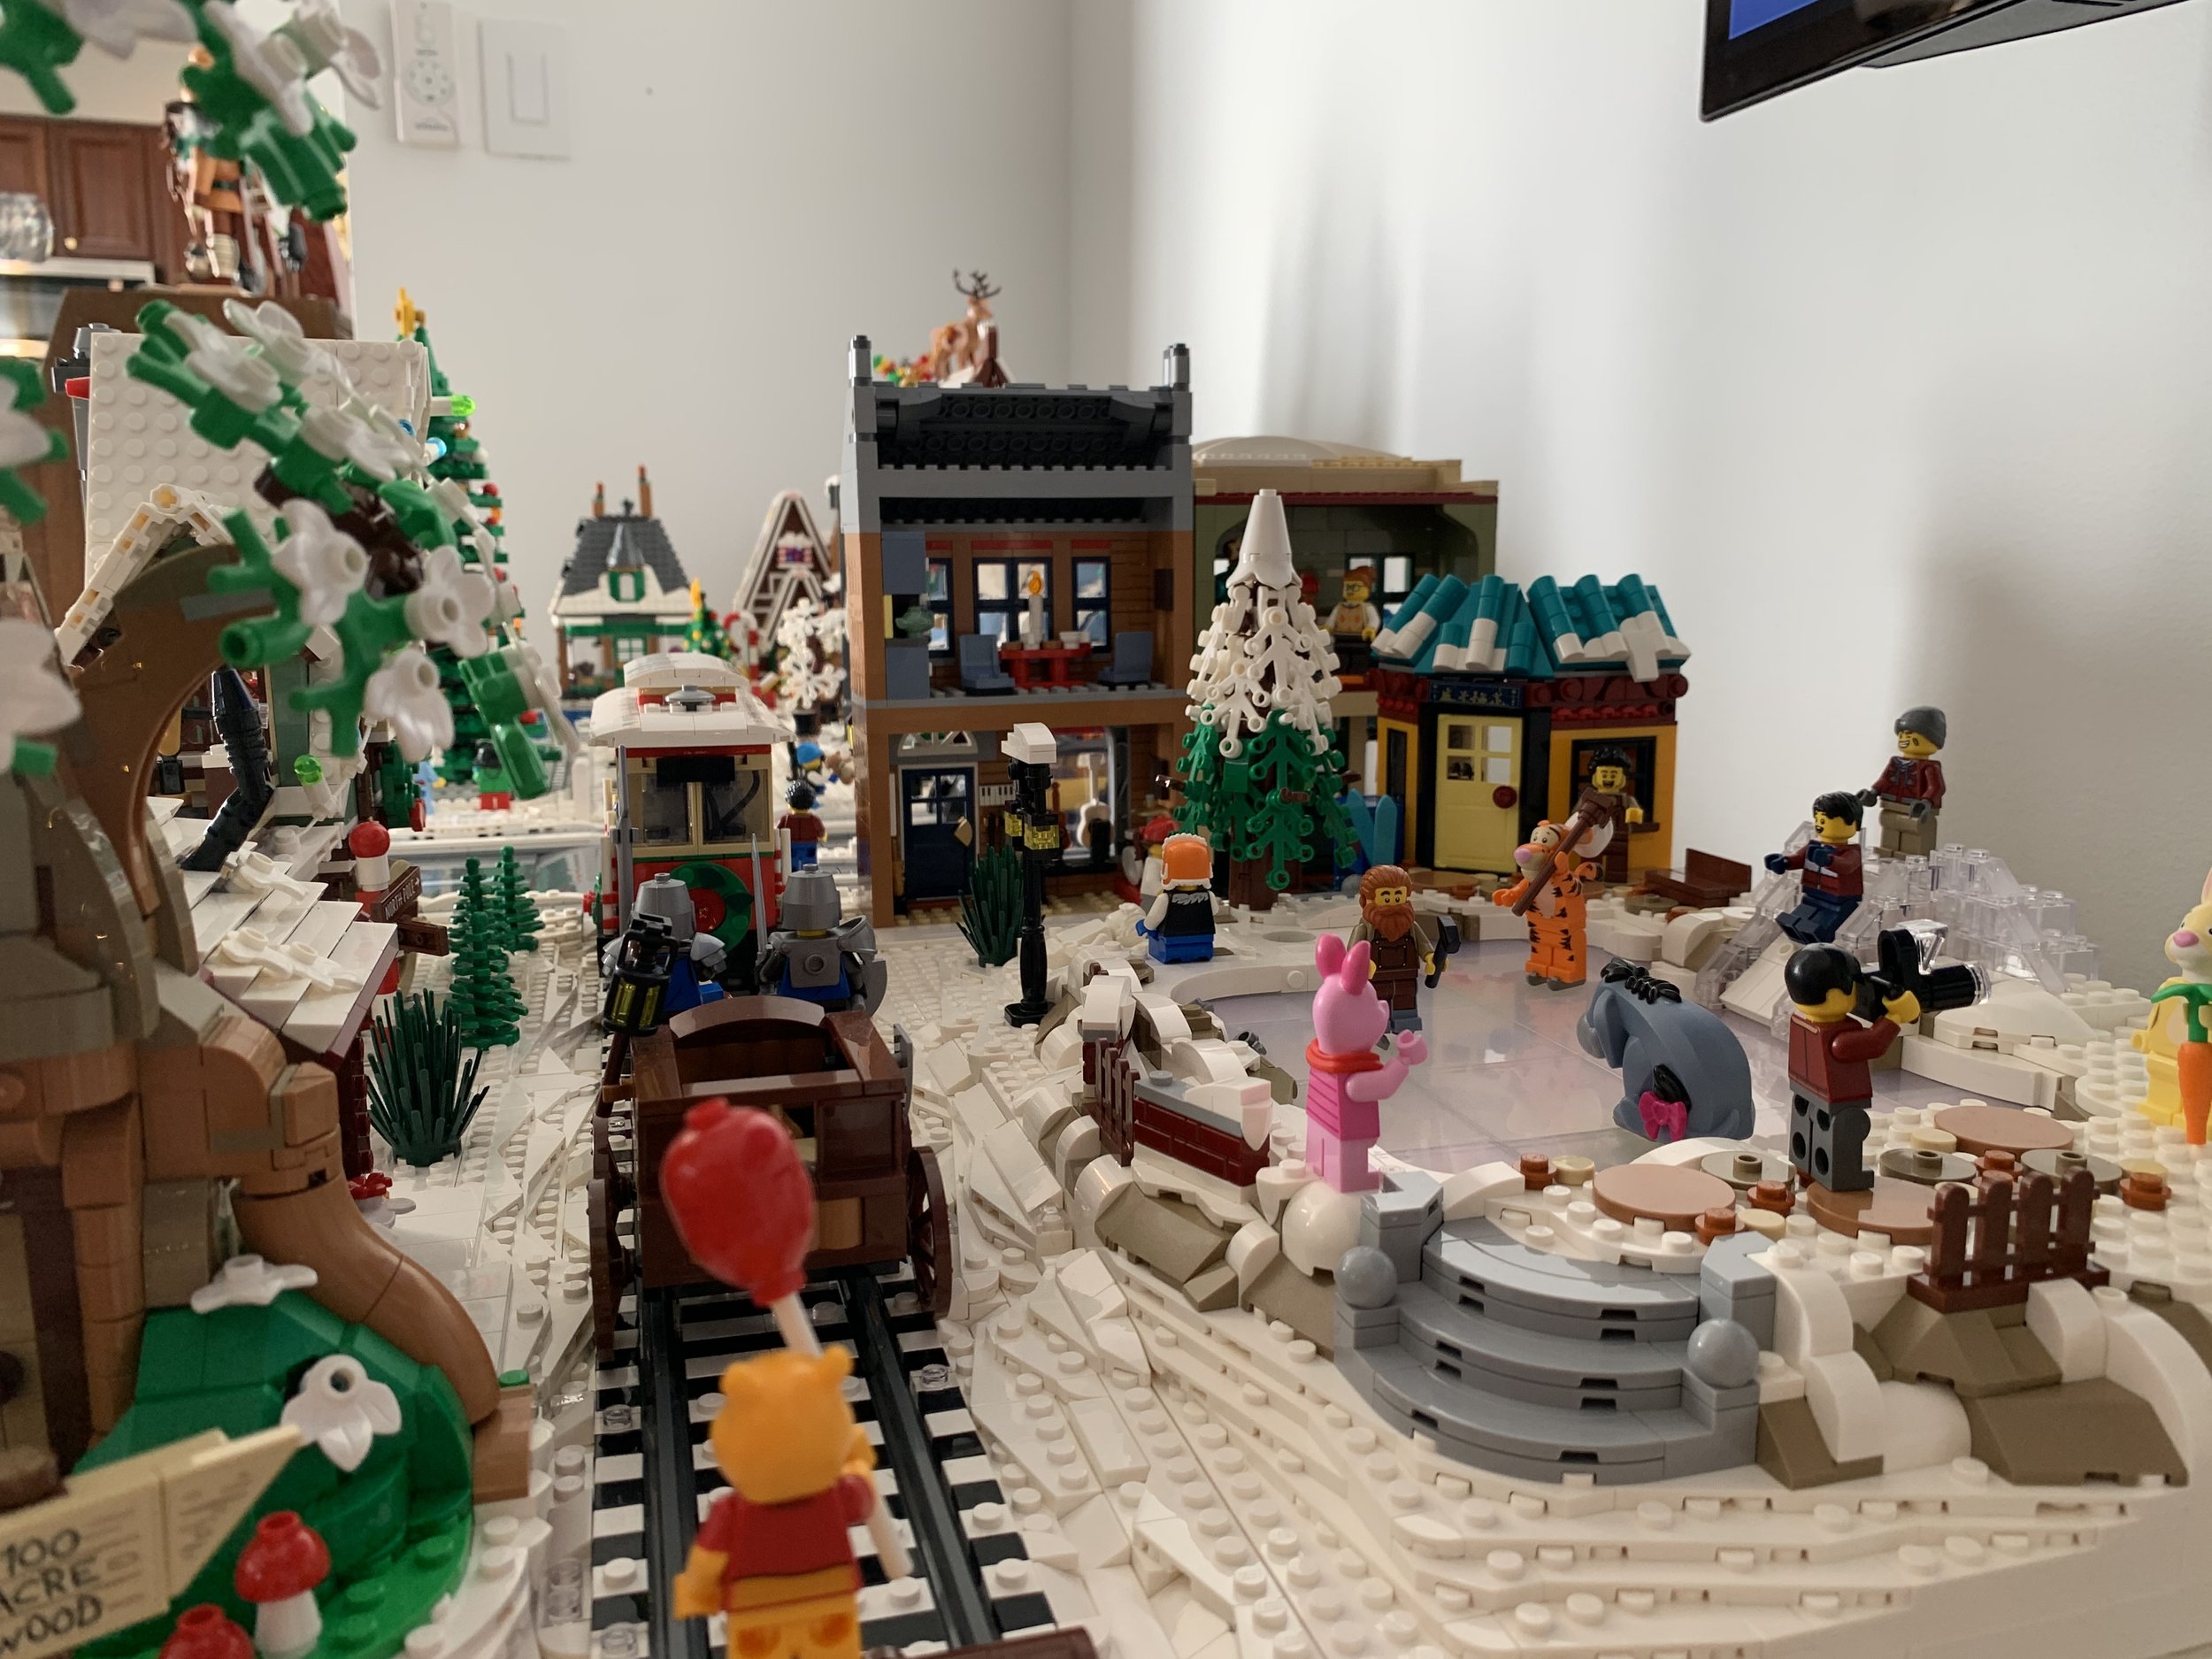
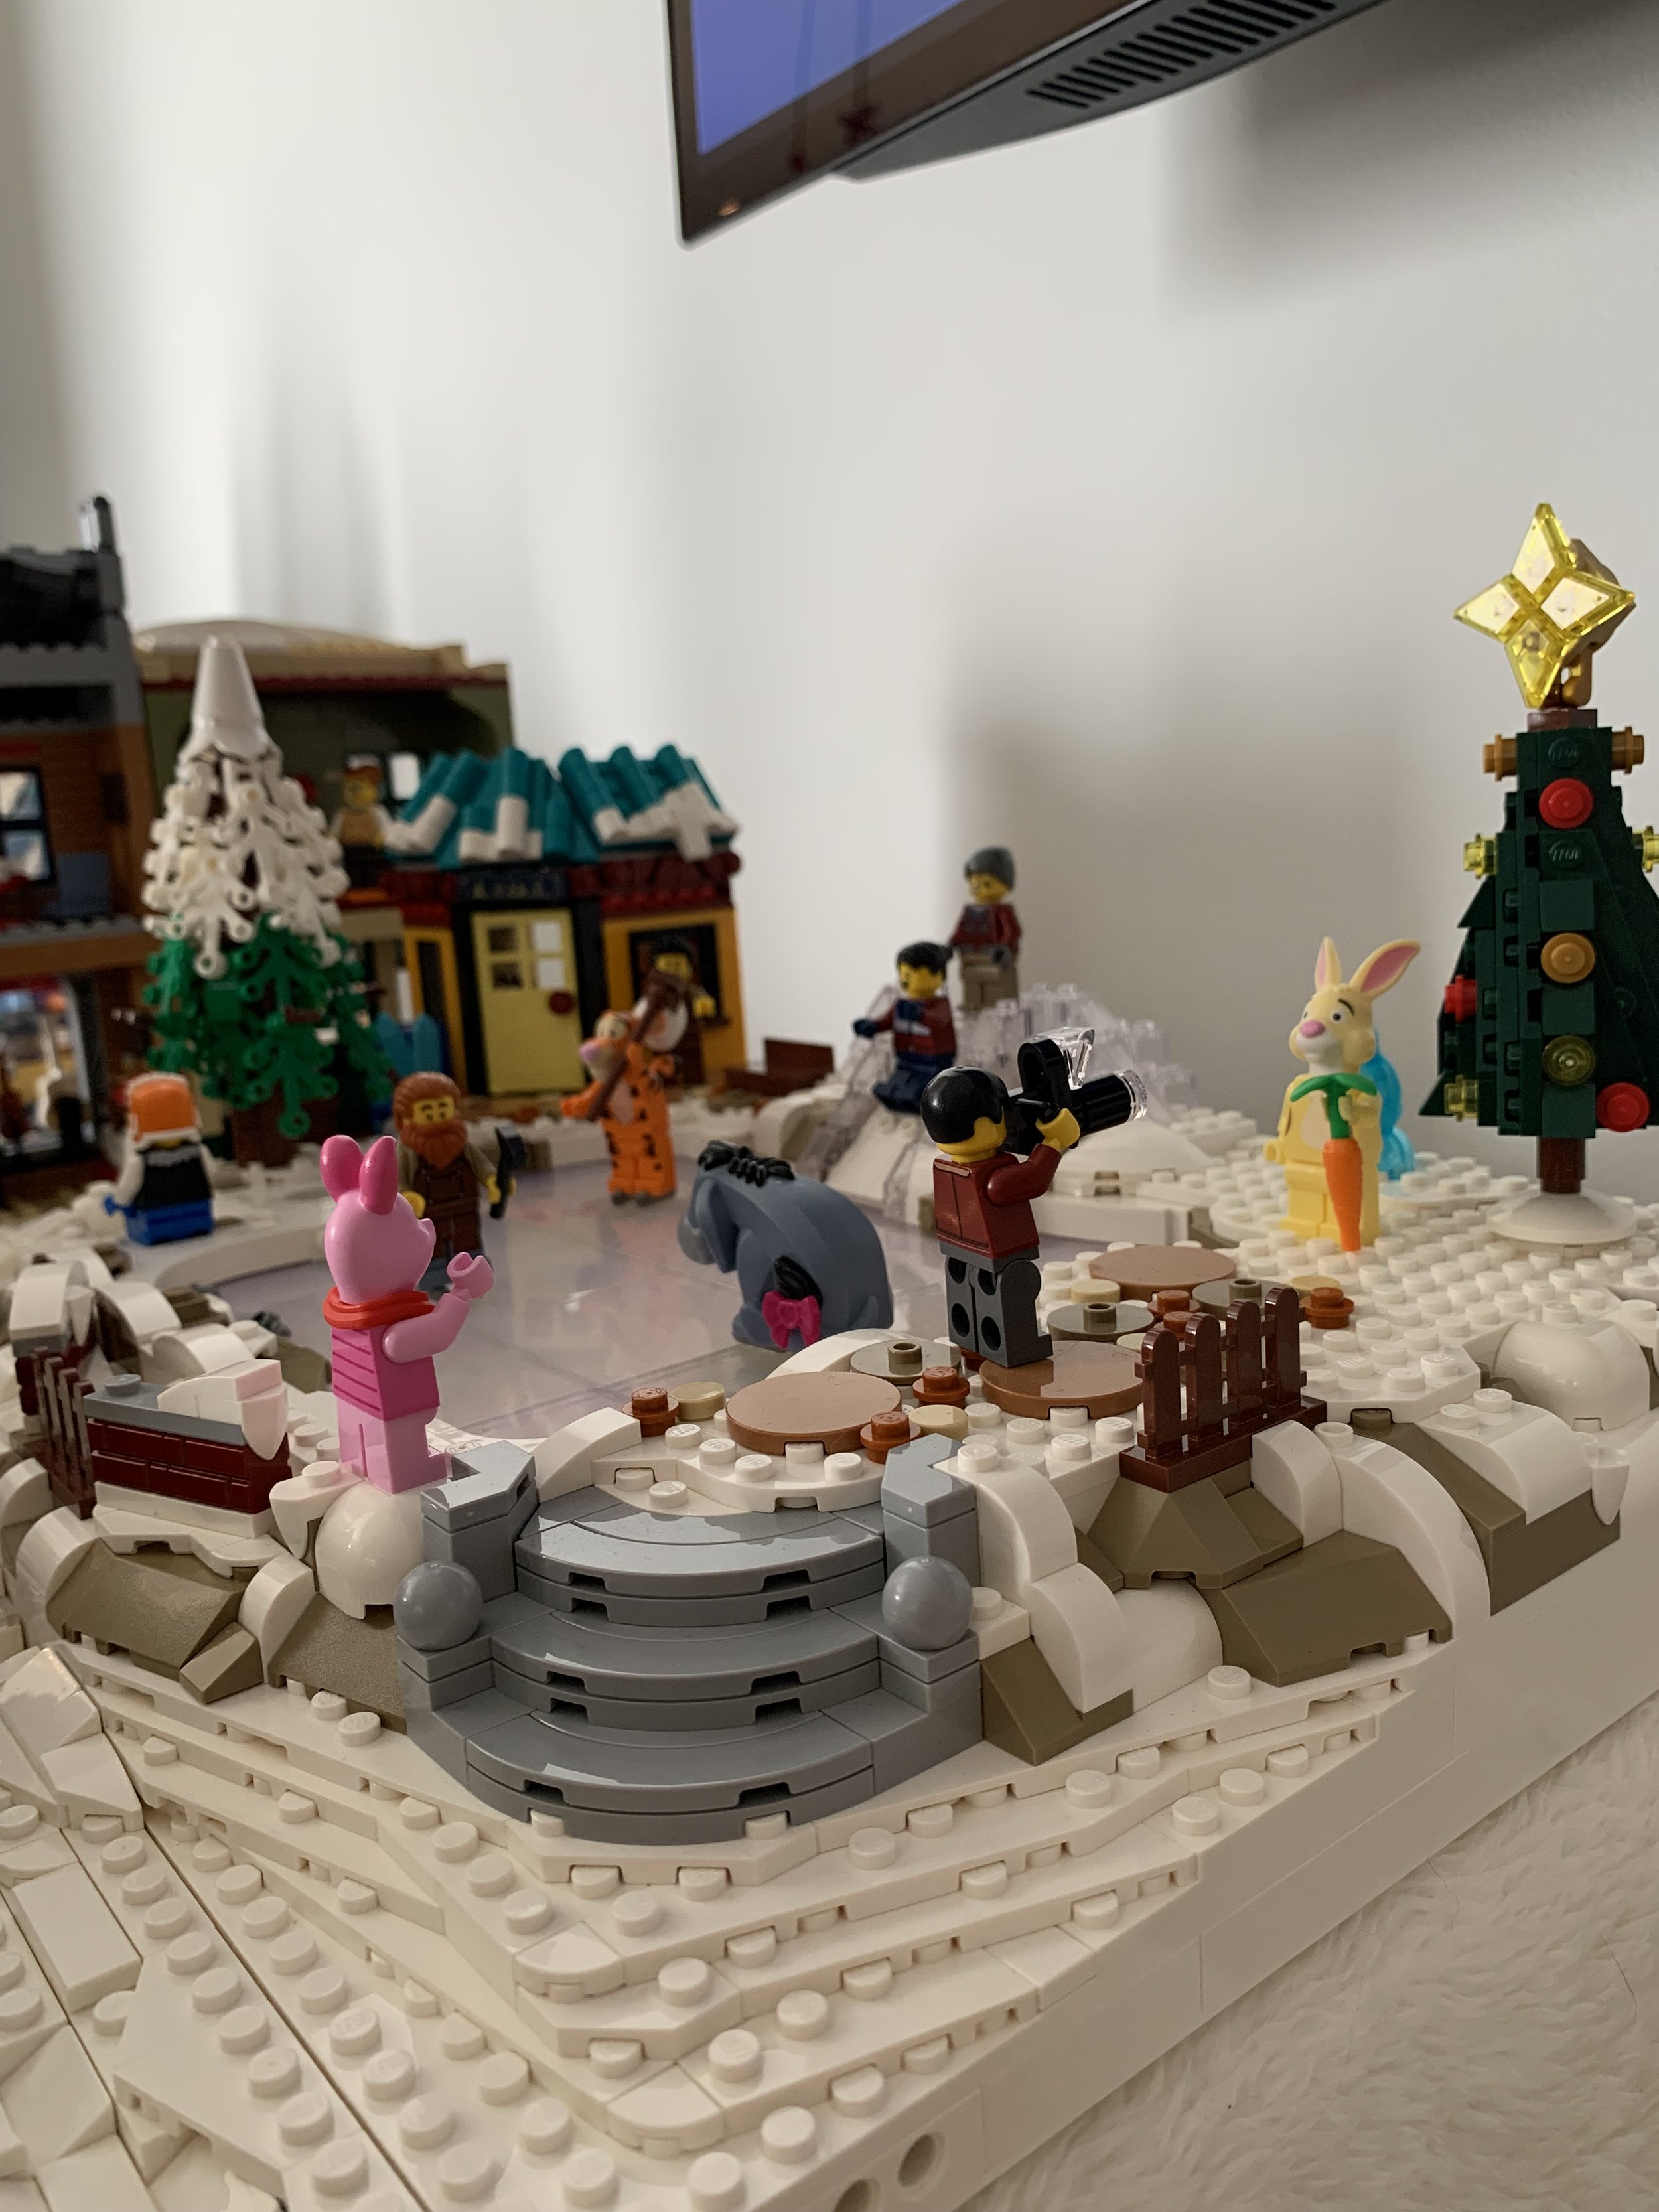
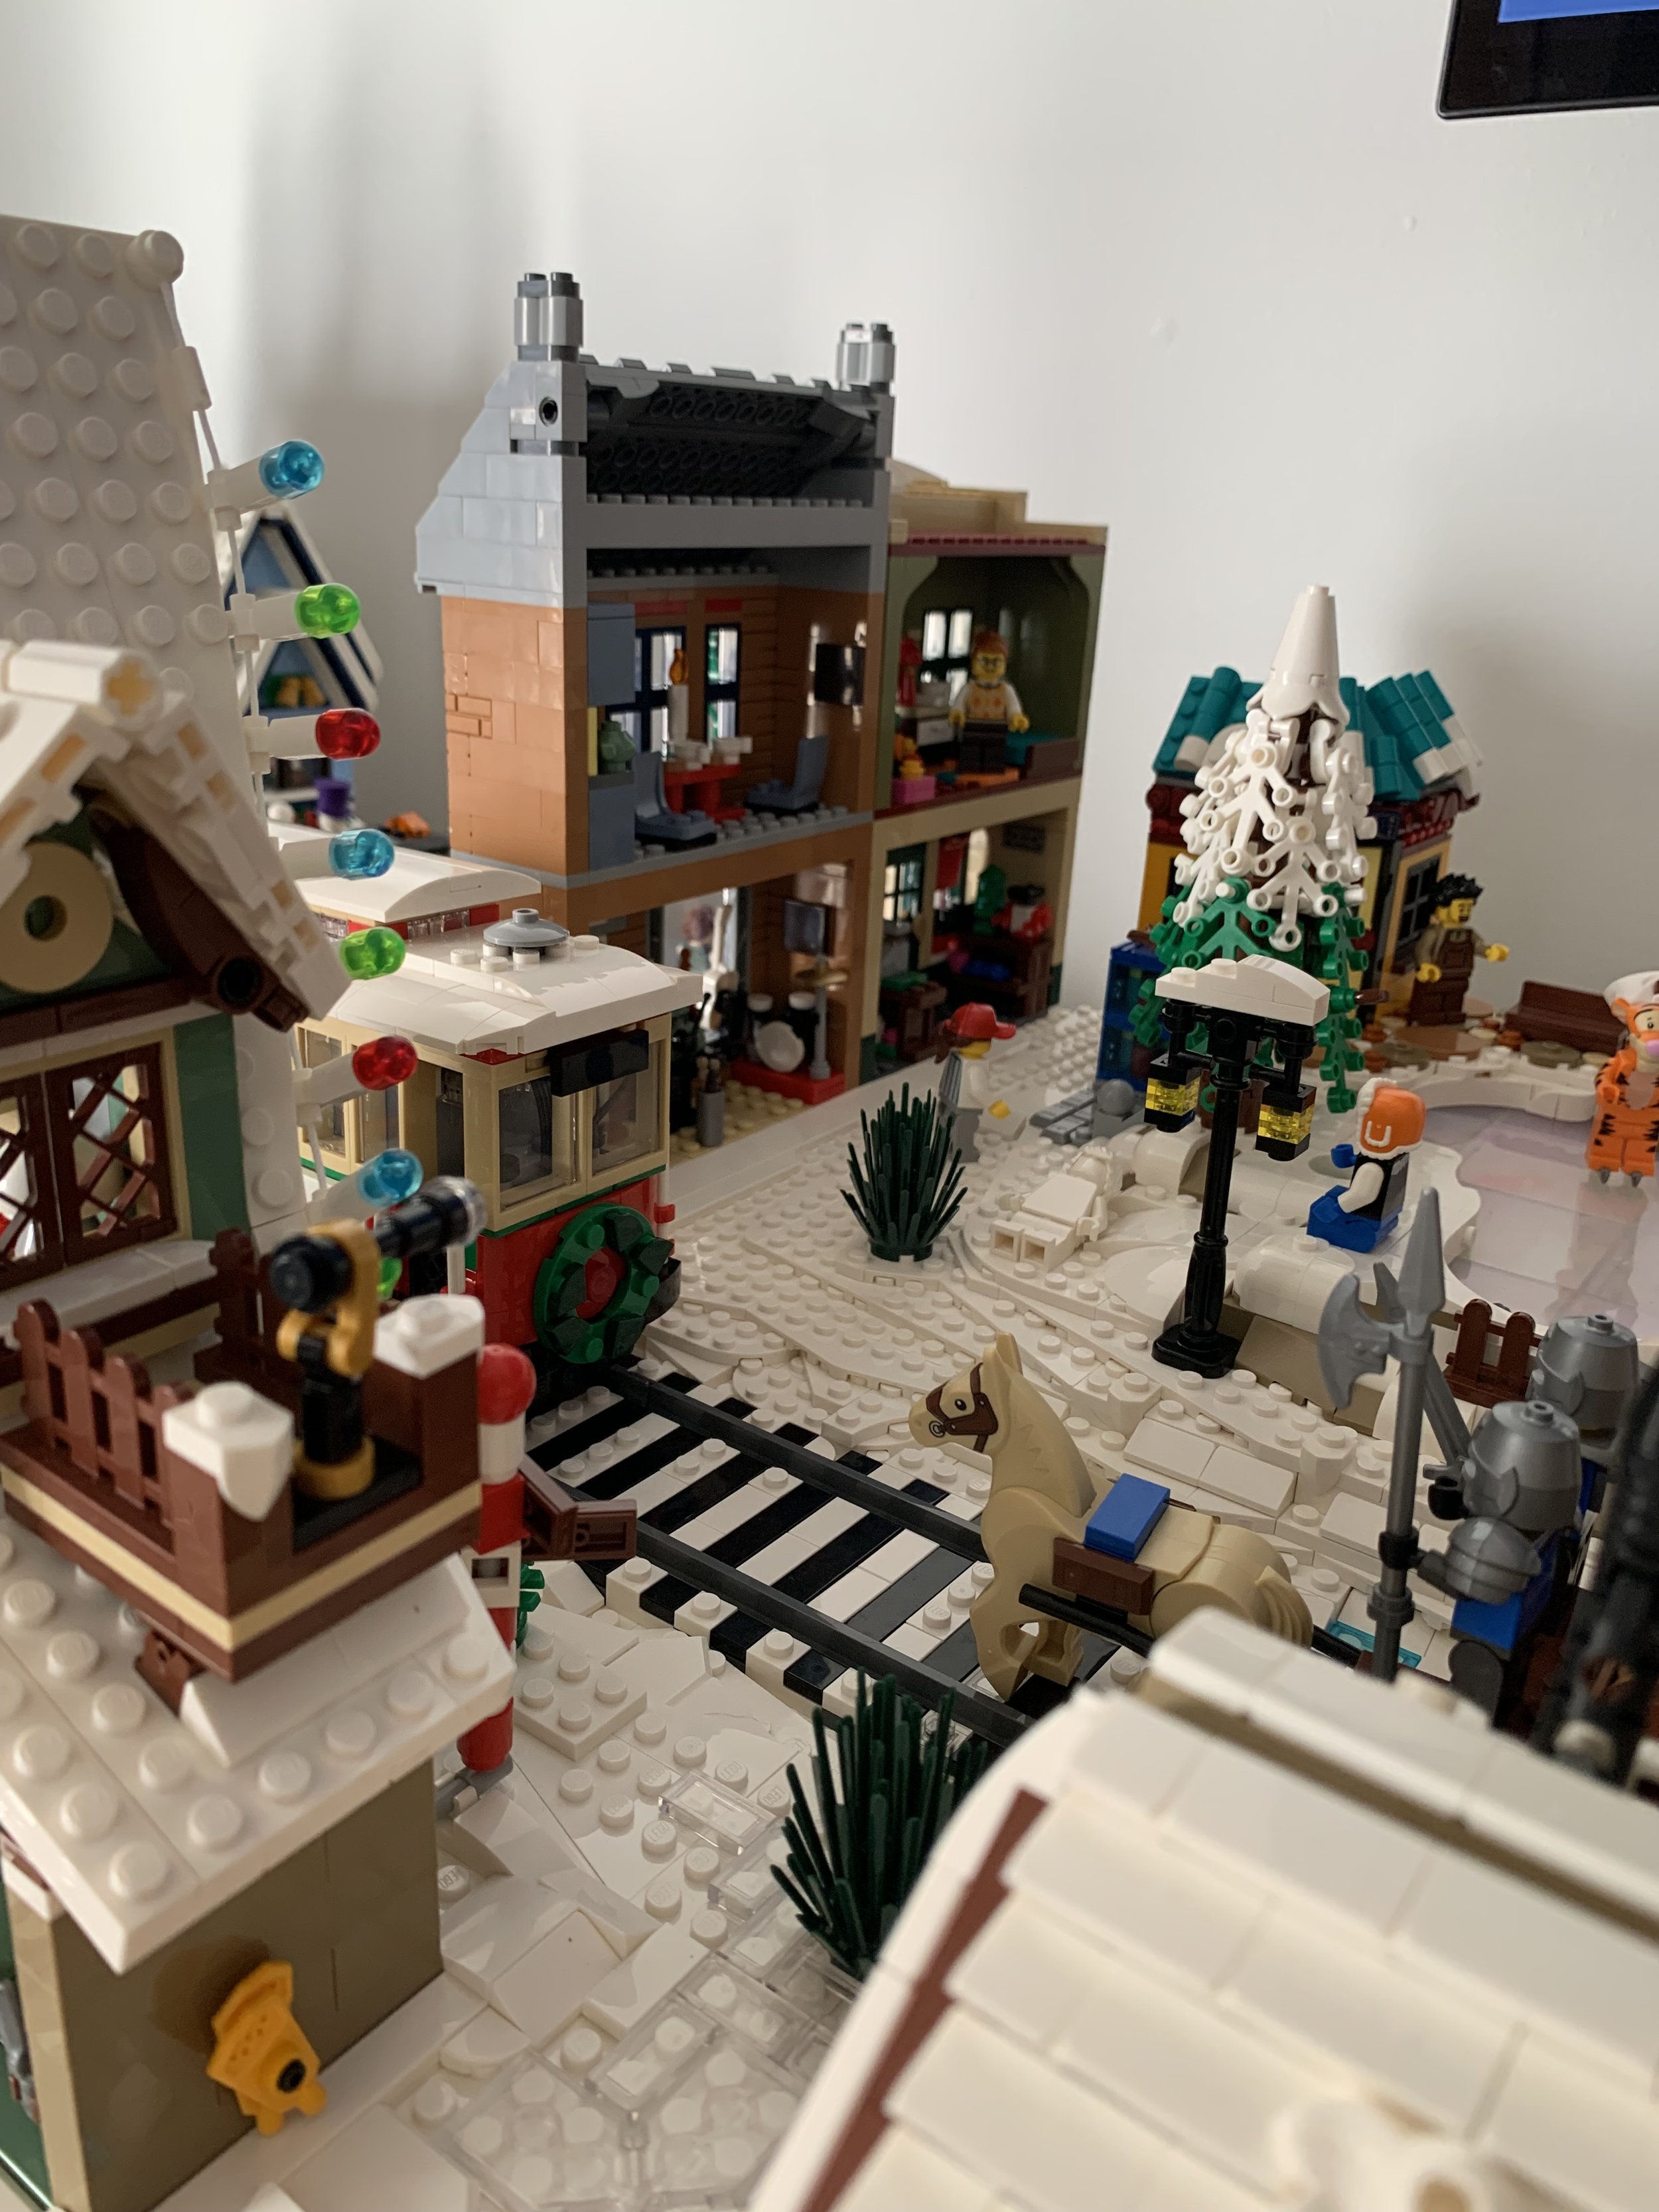
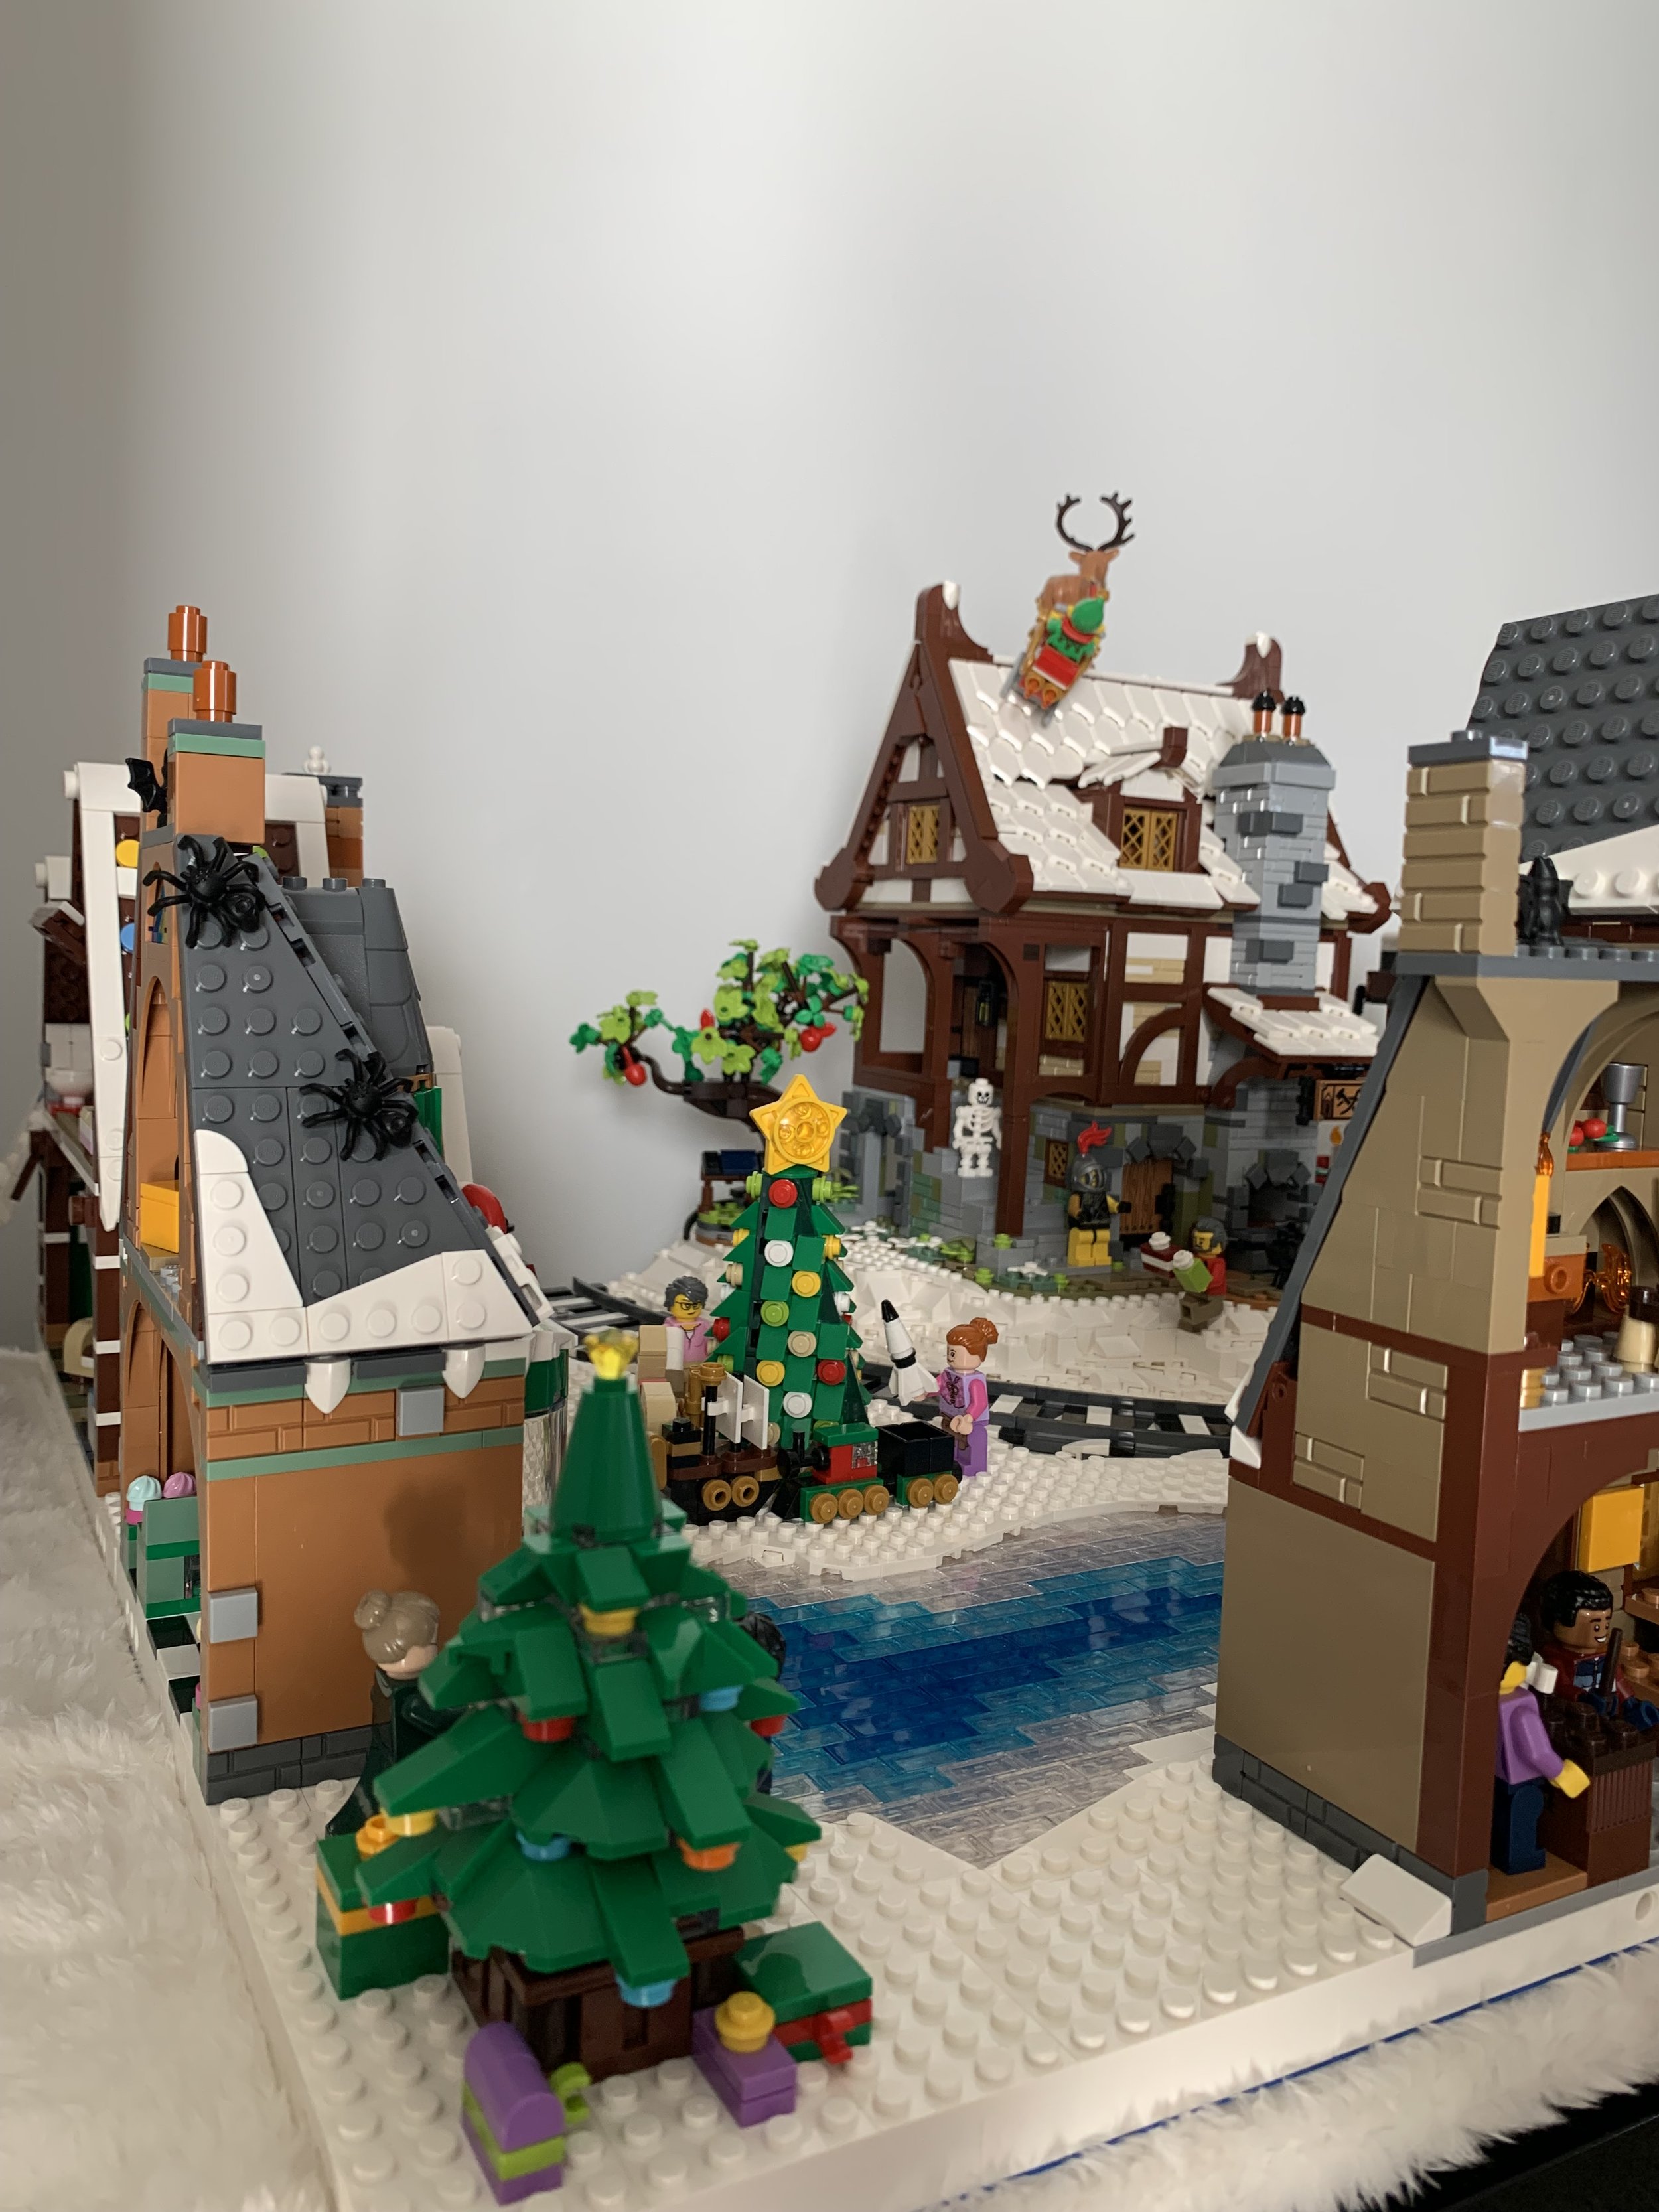
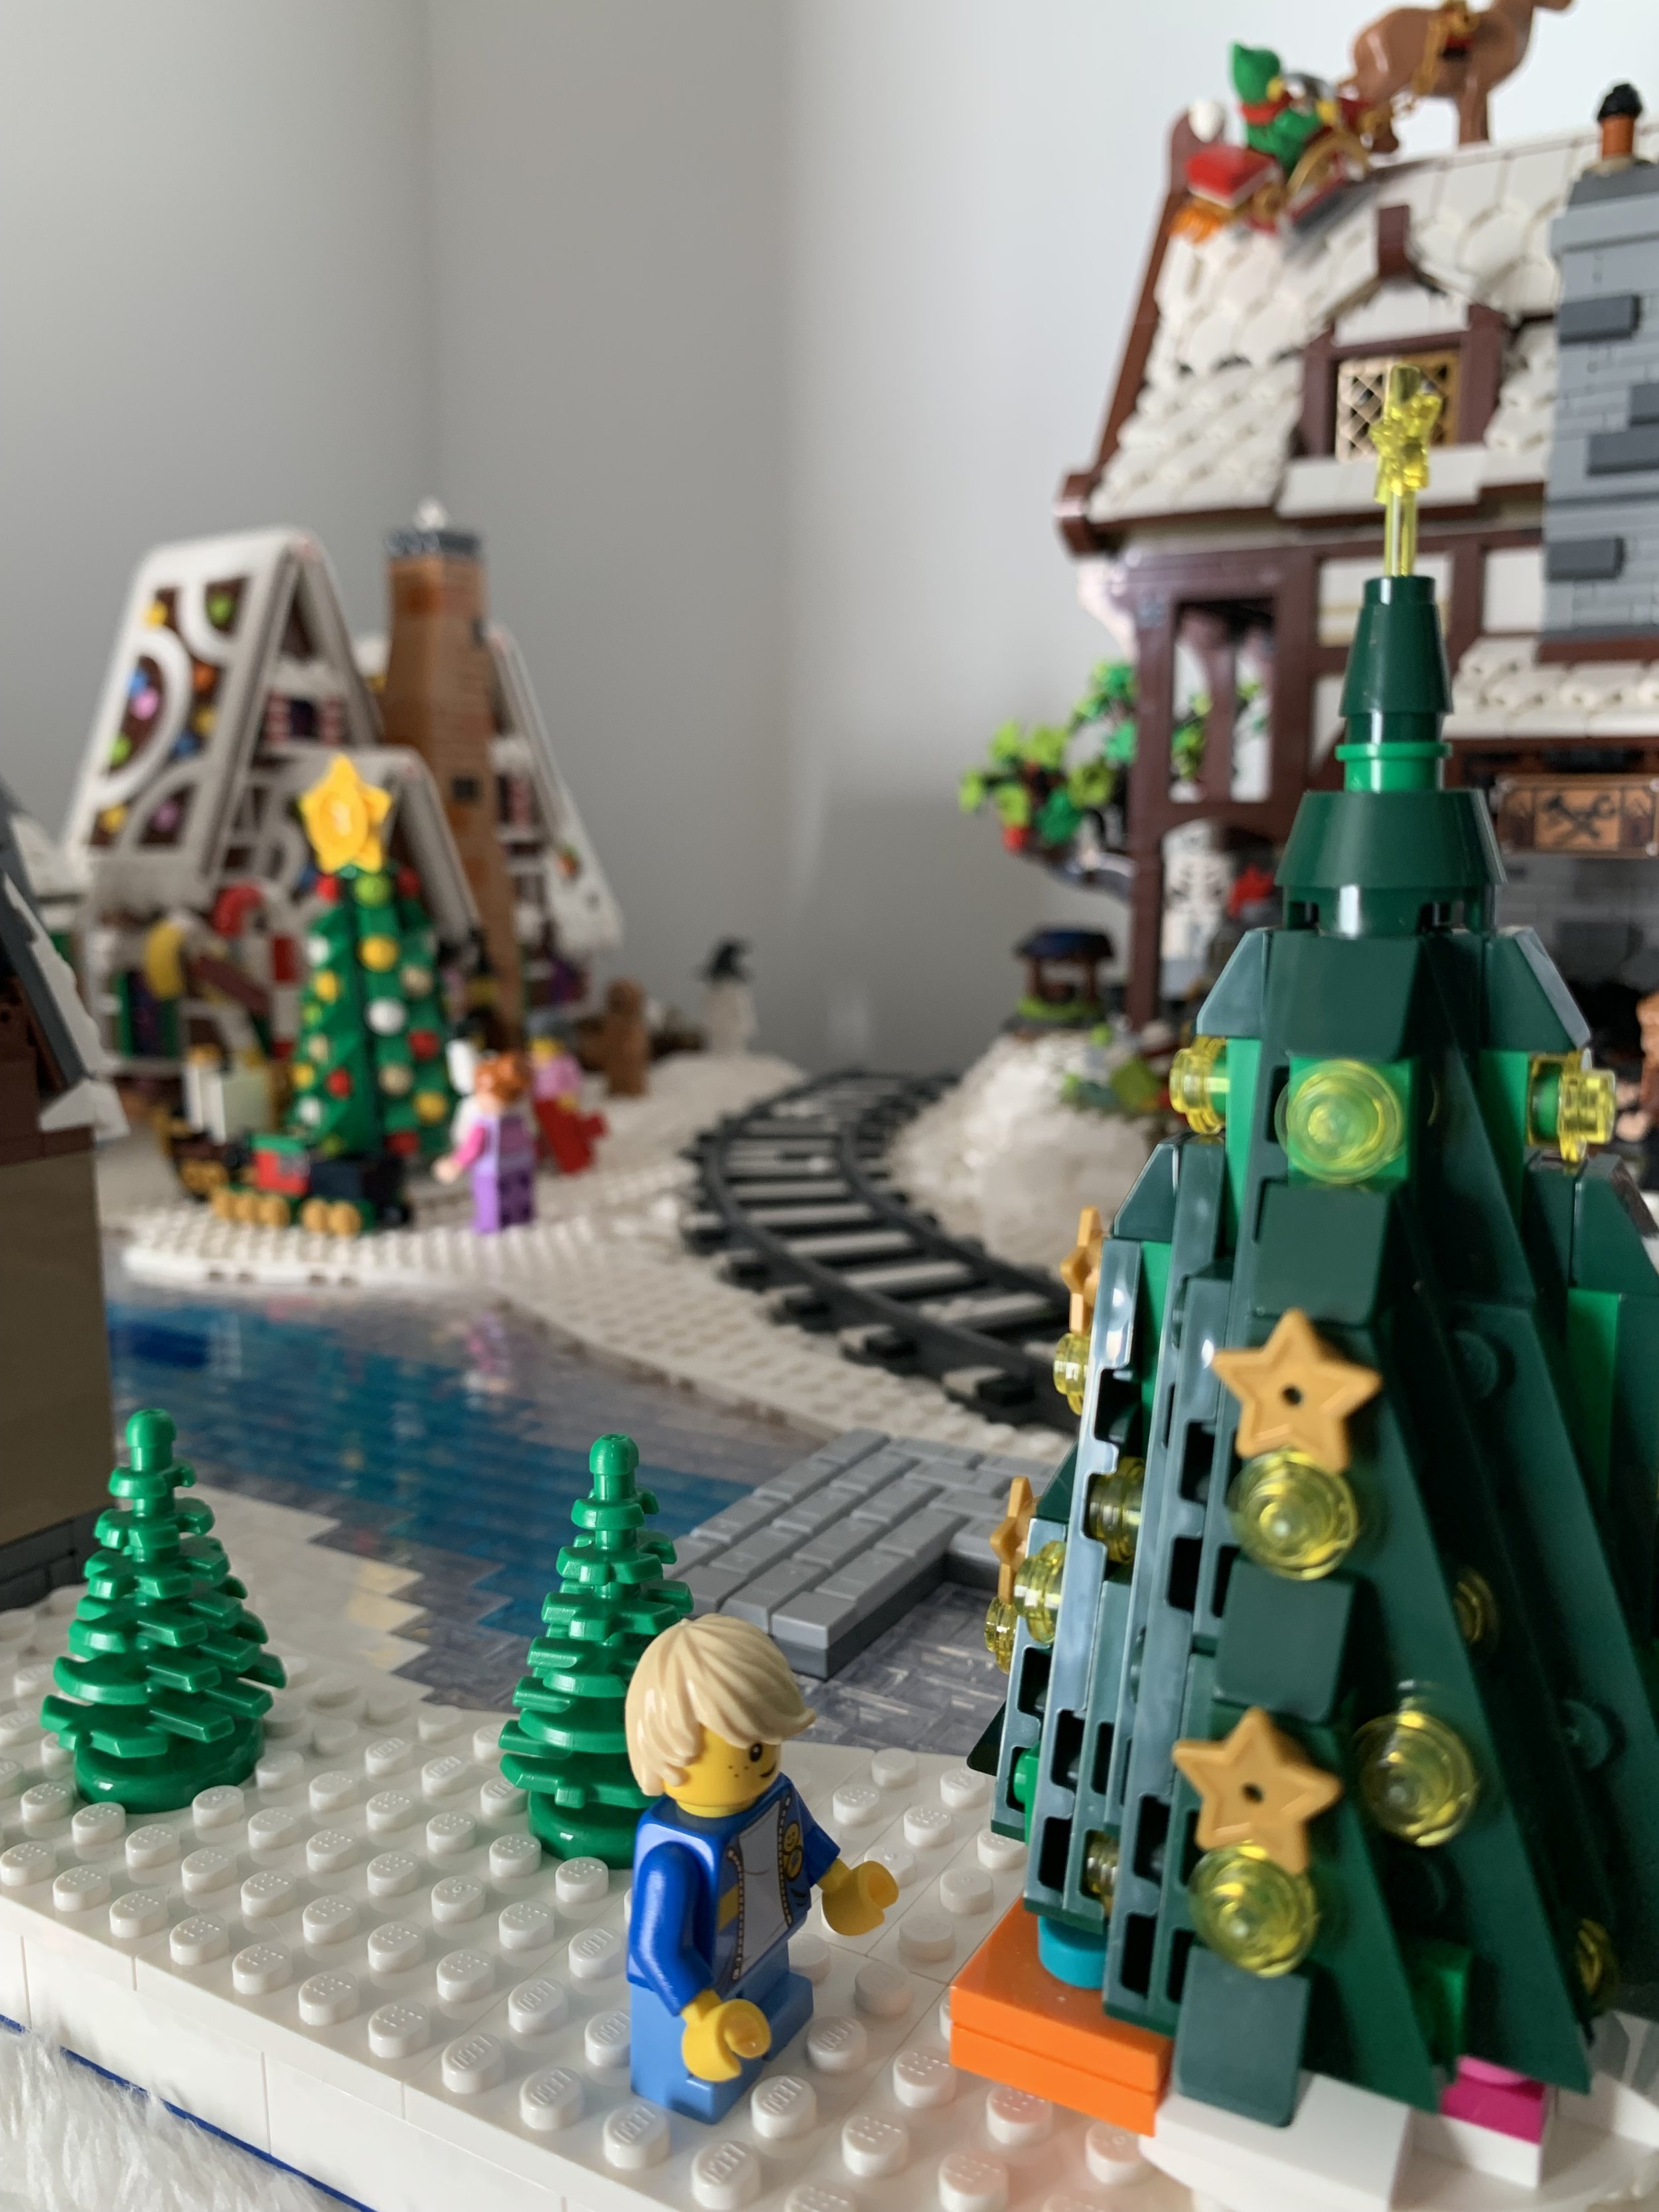
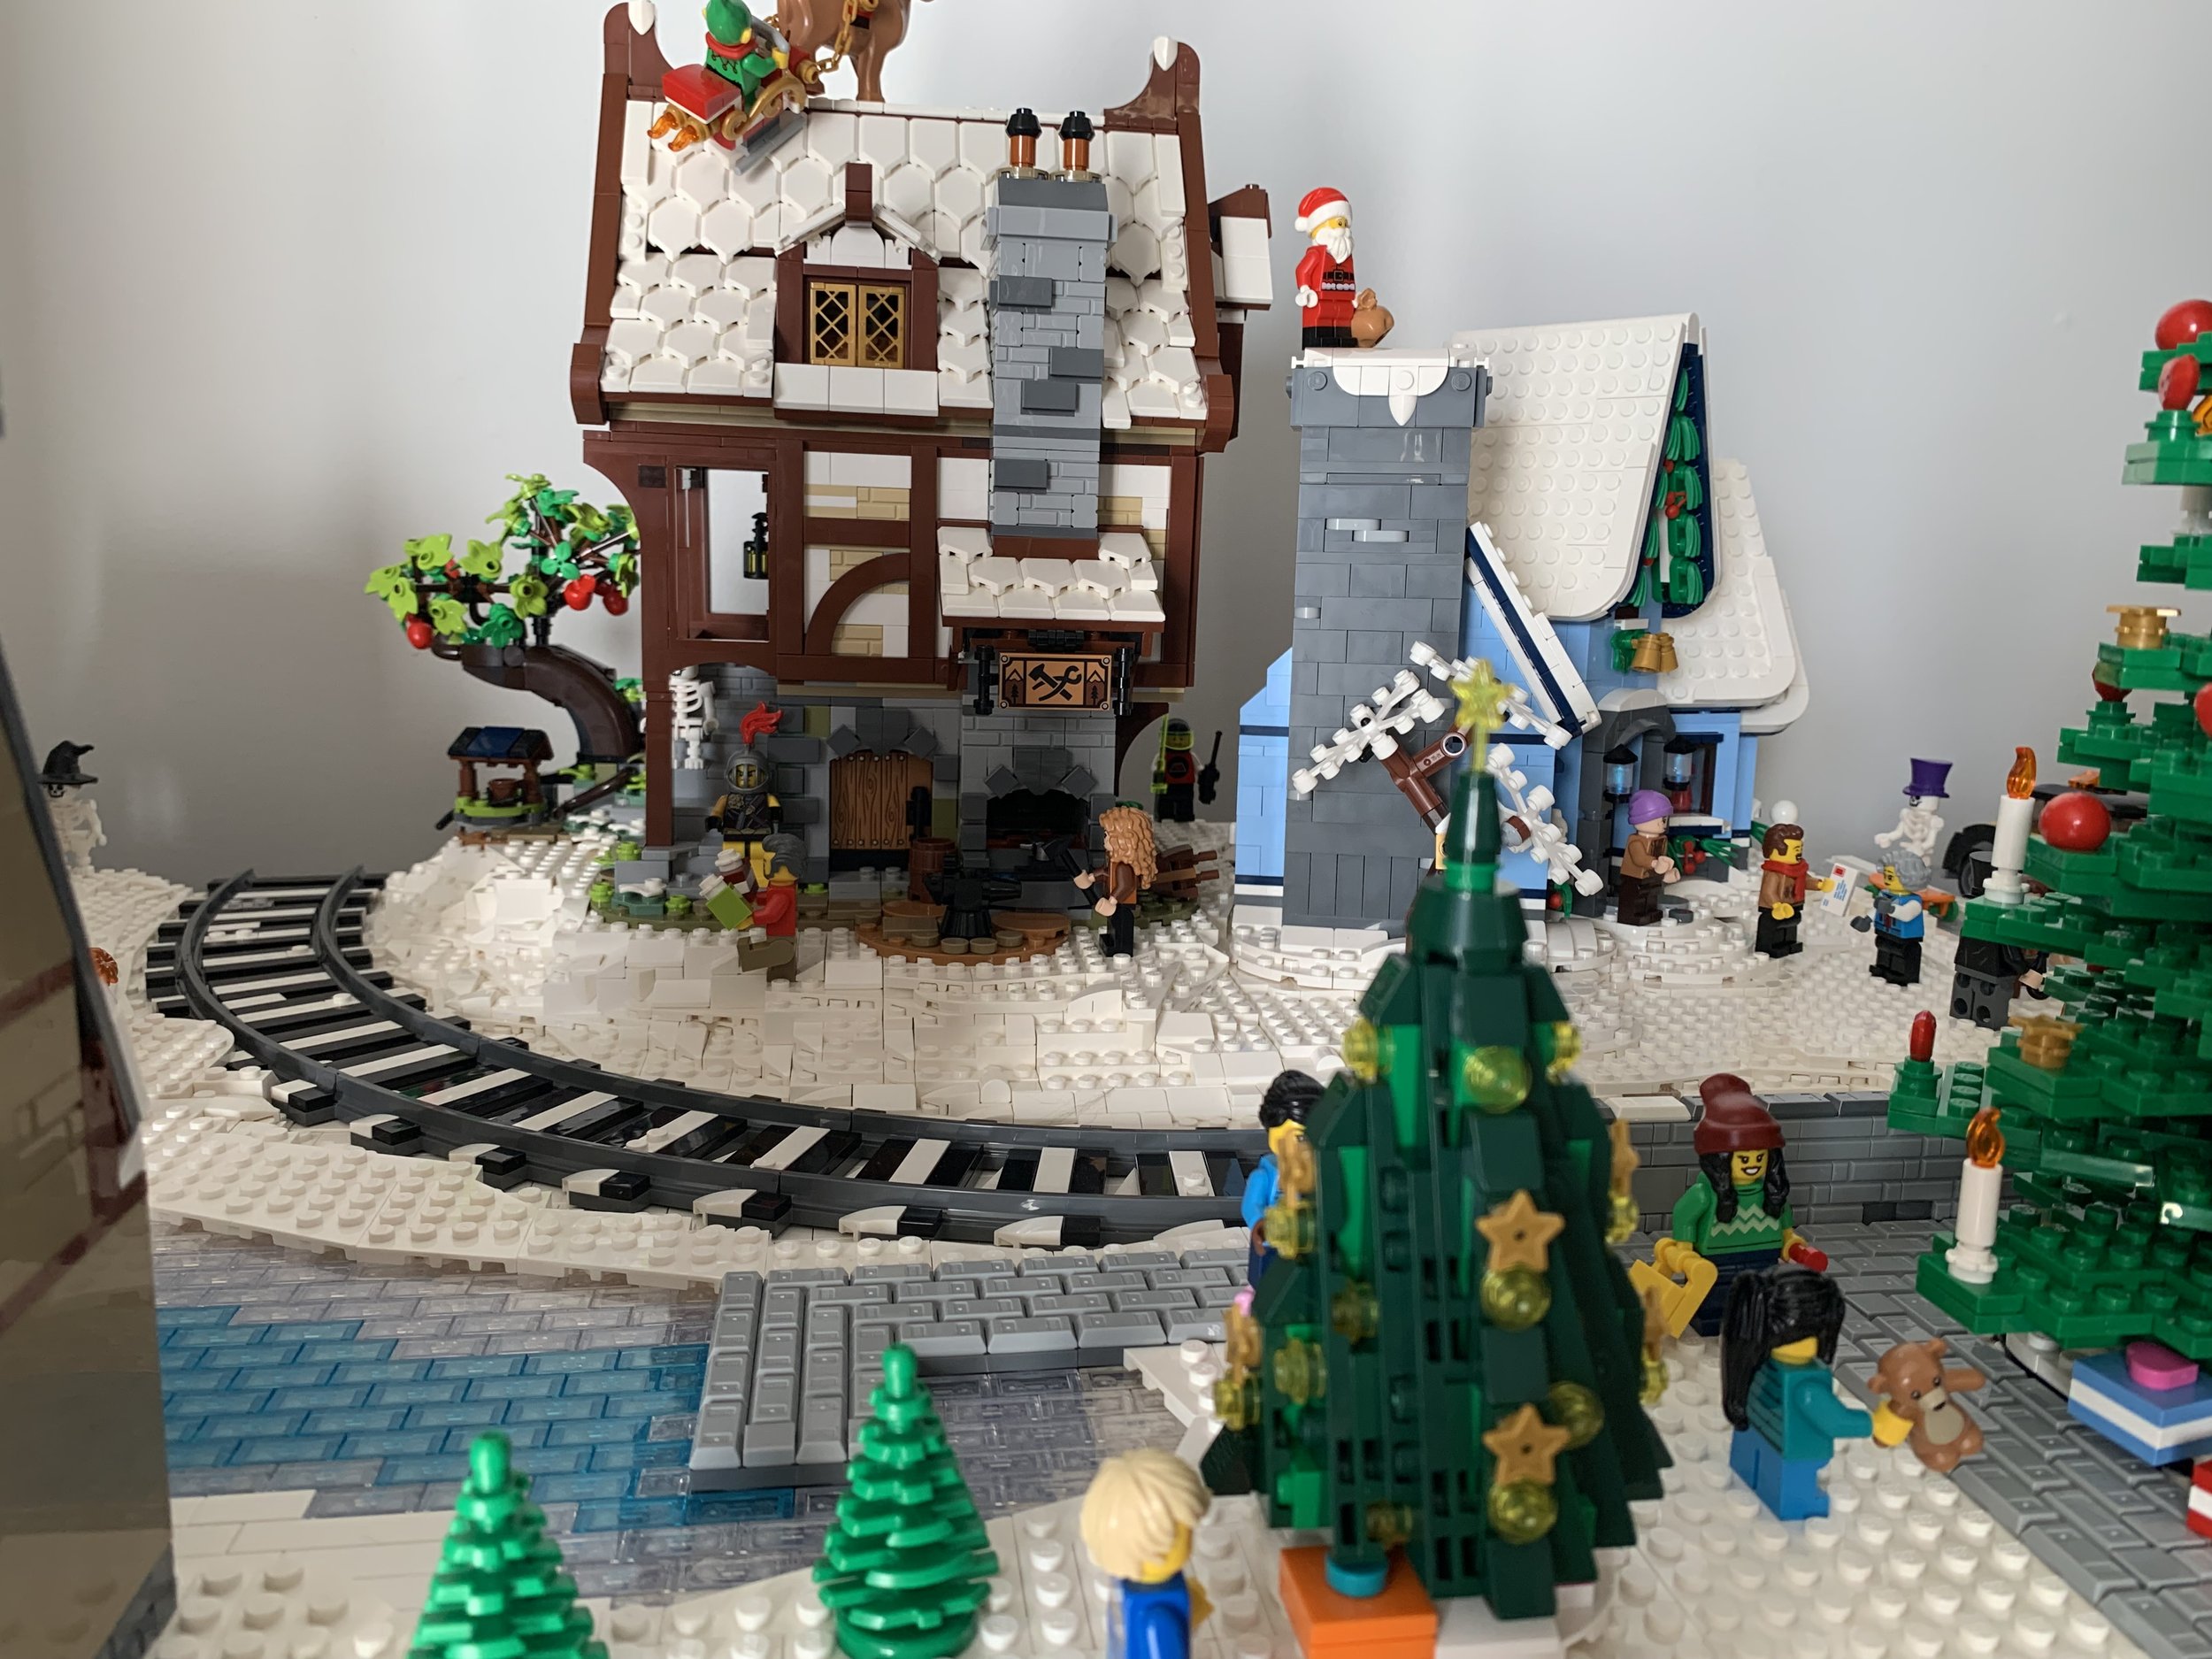
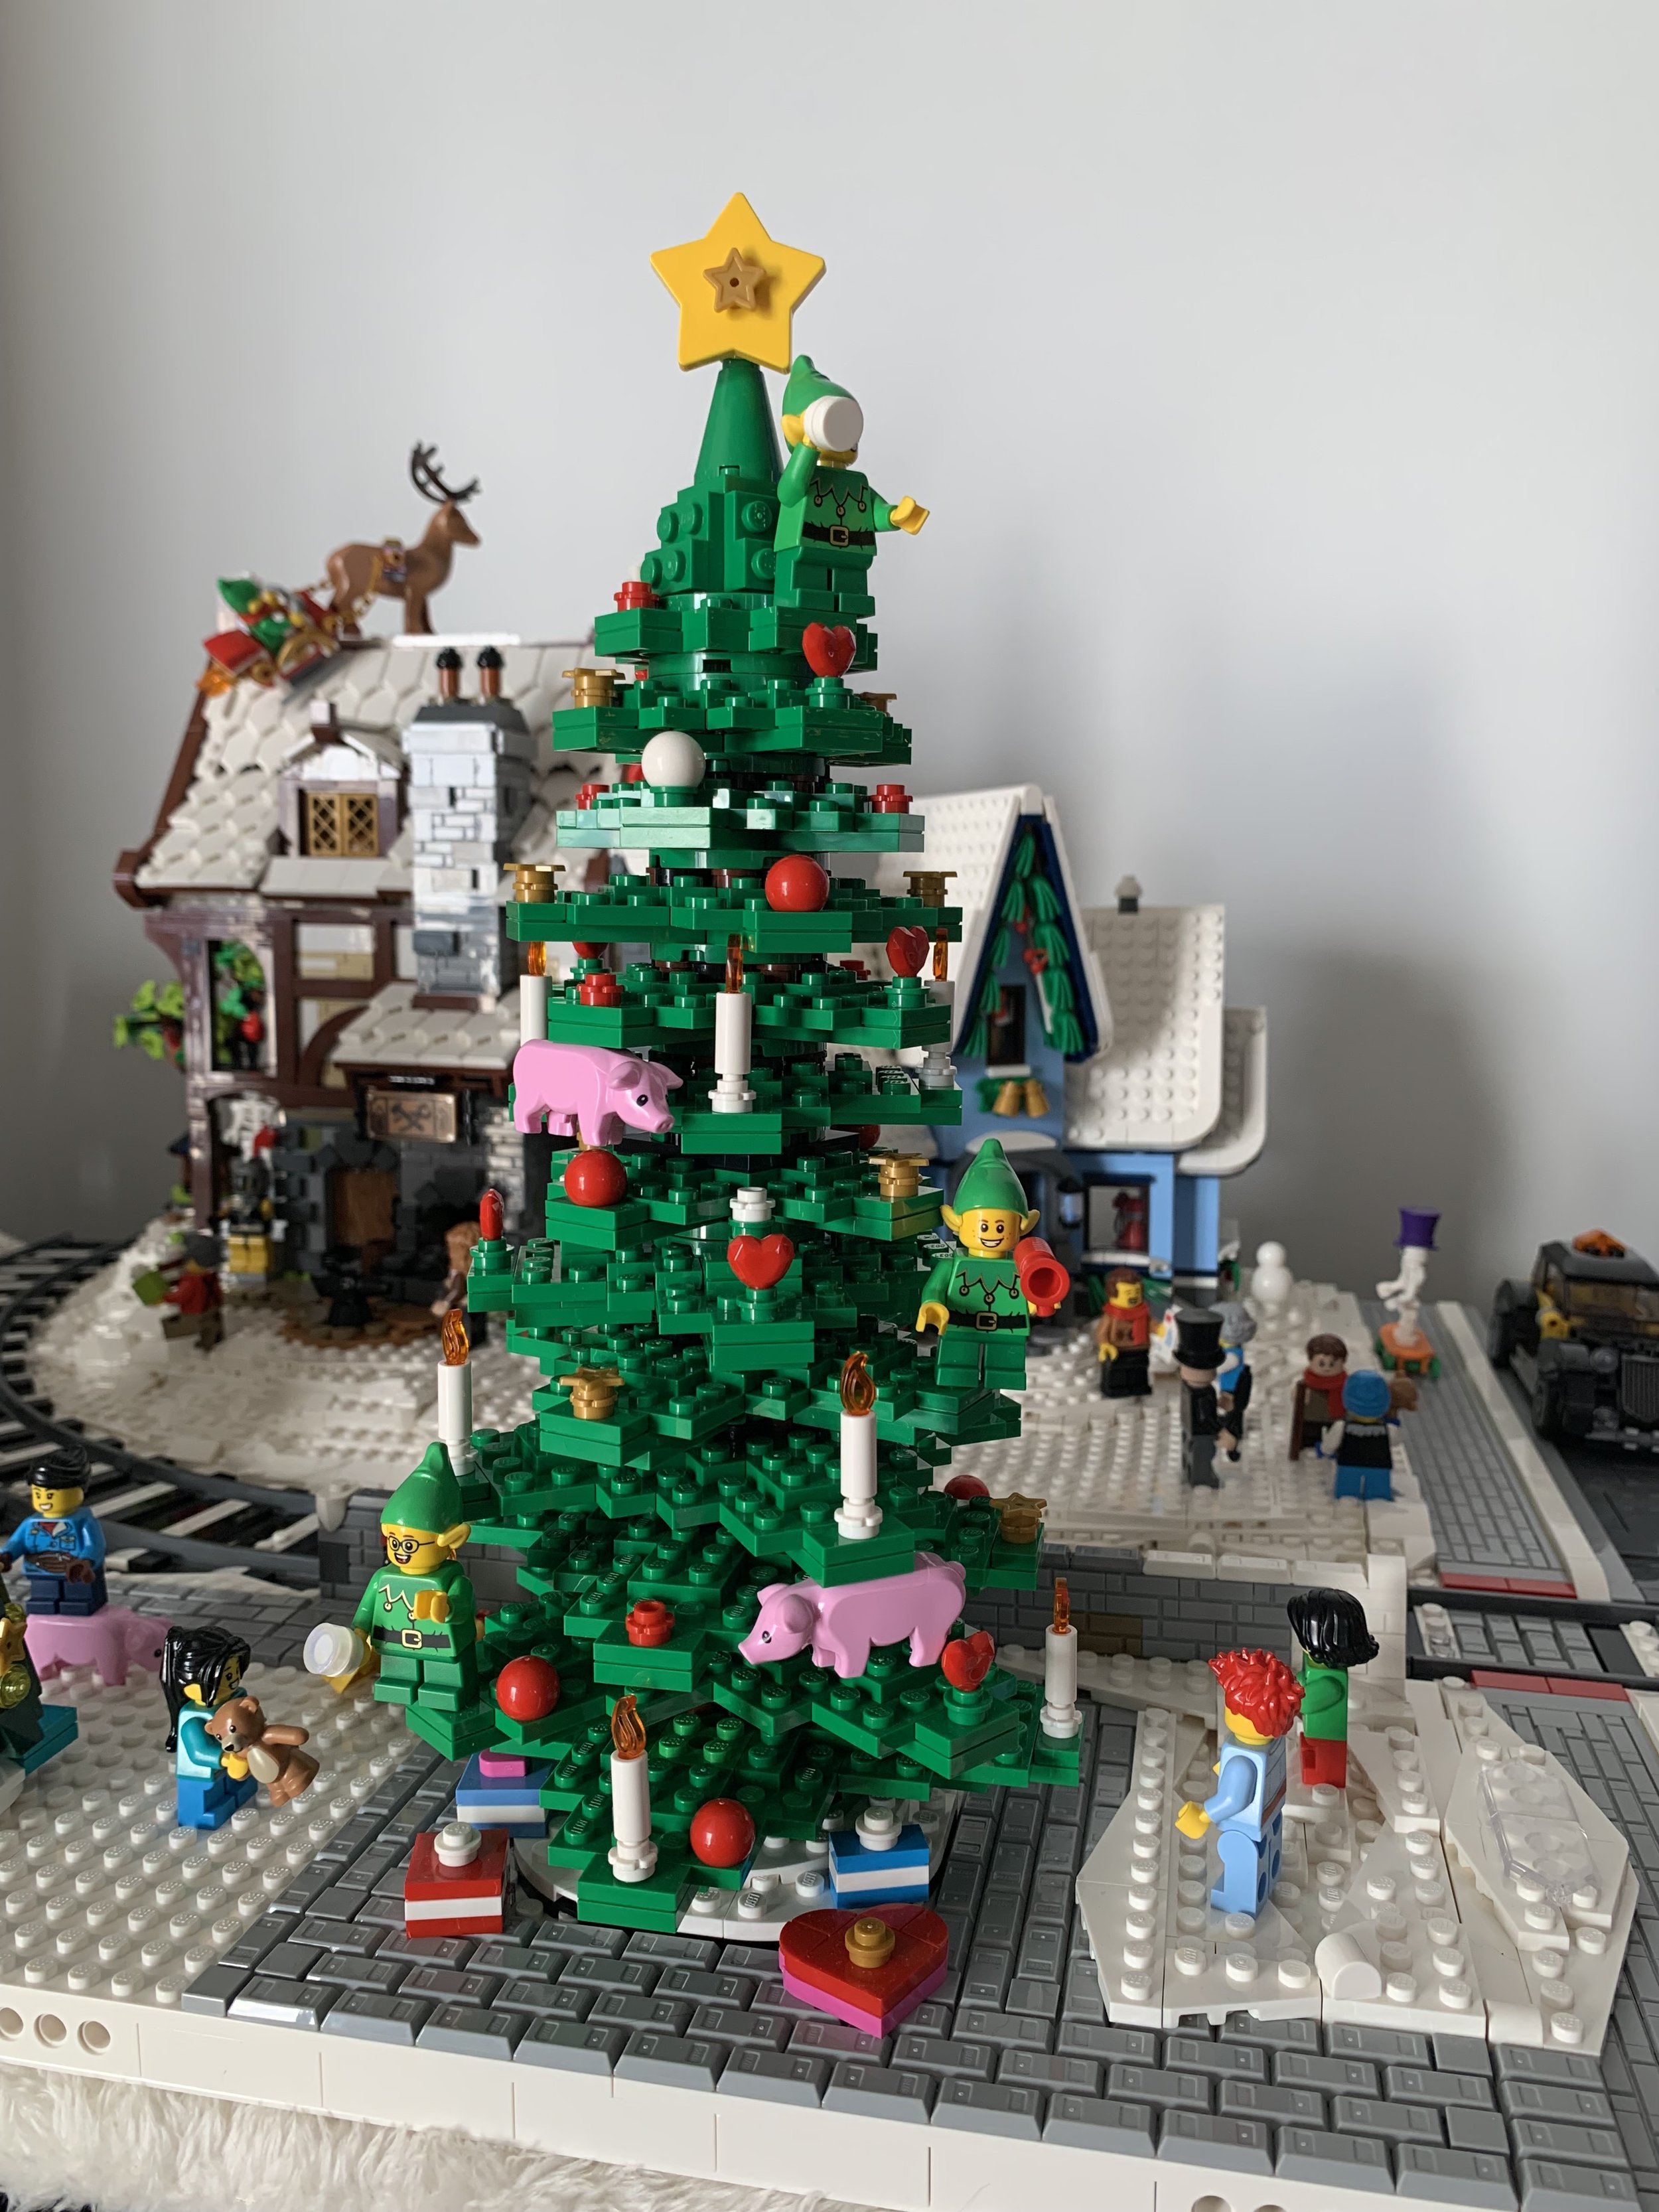
The best size for your first winter village is 30” x 60”, which requires 18 baseplates. This is large enough to accommodate a full train track loop, and this is also a very common table size. There are a number of relatively affordable tables from IKEA that measure roughly 30” x 60”. We’d all love to go even bigger, but this is a great size to start with especially if you want to include a train, and it still leaves a lot of open space for all your favorite buildings and scenes.
The second major decision to make is whether to build directly onto baseplates, or to reinforce the baseplates (commonly referred to as MILS plates). By reinforcing the baseplates with bricks & plates, they become a lot stronger and it is much easier to move them around. As winter villages are (usually) seasonal displays, it is necessary to tear it down after the holiday season and store it for next year. The standard baseplates are just a little too flimsy to do this with confidence. The reinforced MILS plates also have technic bricks around the perimeter, allowing you to connect each module with Technic pins. This keeps the whole display tight and sturdy, so it looks great all season!
One drawback of the standard MILS design is the exposed gaps and colorful bricks visible from the outside perimeter of your village. If you follow my instructions I have listed here, I have modified the standard design by fully enclosing it. This is both stronger and looks better. The other issue is the technic bricks will create exposed holes around the perimeter. I have also included modifications to my design for both edge and corner positions, which completely eliminate any technic holes around the perimeter.
Finally, the most common complaint about upgrading winter villages to use the reinforced MILS baseplates is the cost. If you source these bricks directly from Lego, the cost is about $25 per baseplate. That cost is in addition to the $7 baseplate, so it is a considerable upgrade in cost. If you source bricks through marketplaces like BrickLink, then you can reduce the cost to $20 or less, but this is highly dependent on availability. If you have to source the bricks from multiple sellers, especially overseas sellers, then the shipping costs can wipe out any savings.
I have kits available to make it much easier and more affordable to upgrade your winter village. I only sell new Lego parts, sourced from reputable sellers. I purchase enough parts to build hundreds of kits, allowing me to negotiate better pricing and reduce the impact of shipping, so that I can offer these kits at an affordable price. I keep these kits stocked, and ship from Ohio, so you won’t have to wait long to start building!


